Product Maintenance | How To Unbox Your Westwind
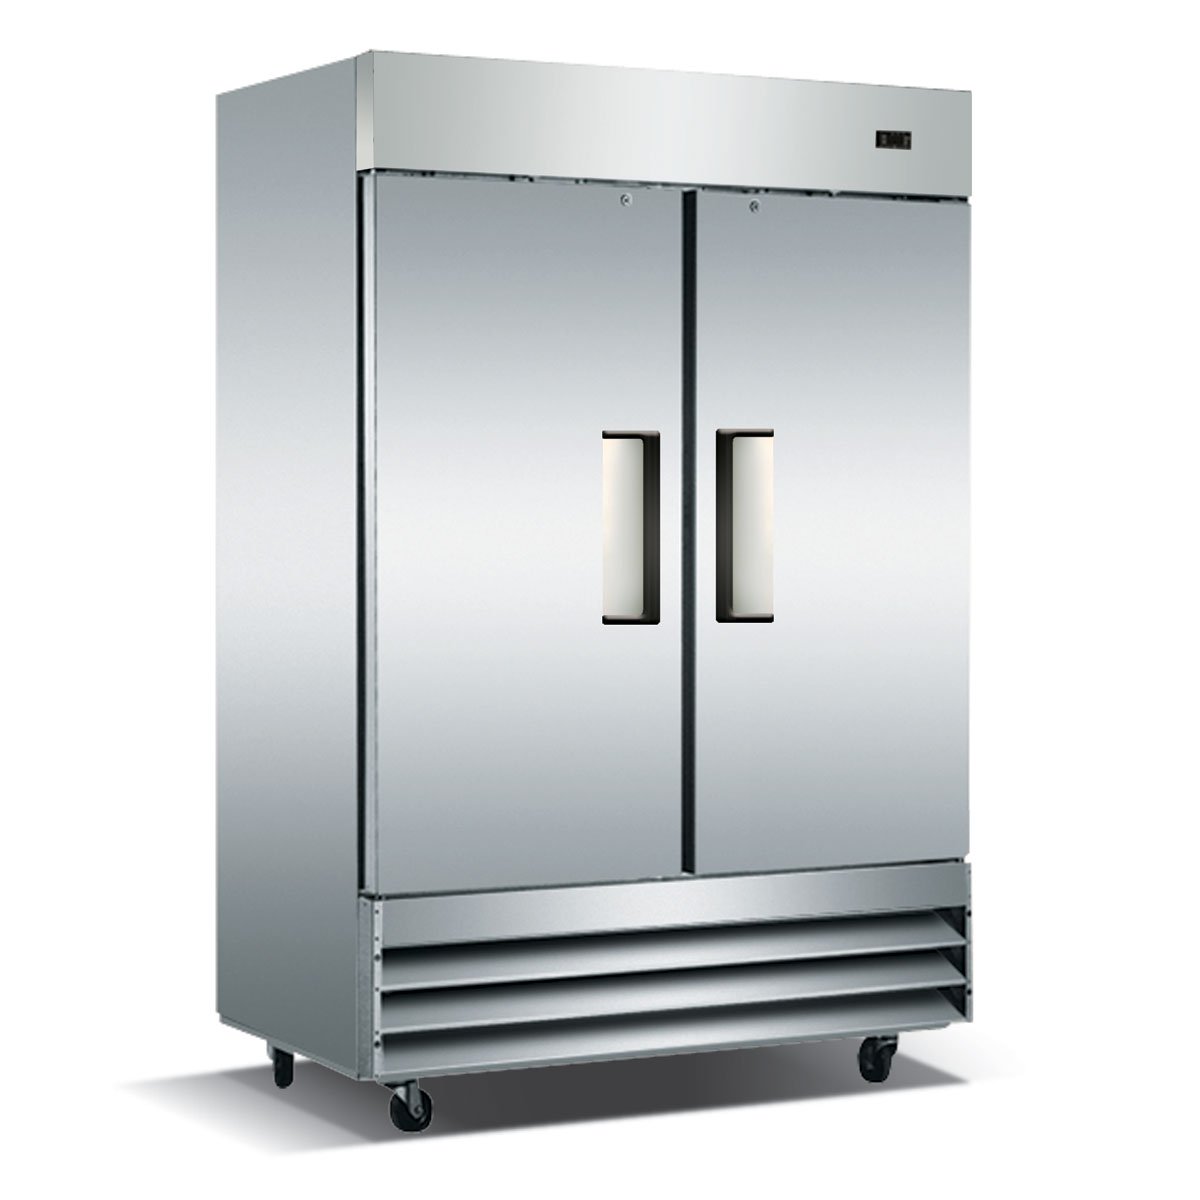
So you’ve made a great choice in ordering your Westwind unit, and now it has arrived and is ready to make its new home in your commercial kitchen. While the careful packaging your Westwind ships in protects it on its journey to you, it can be a hassle to remove. In this video, we cover what you’ll want to know as you prepare to unbox your new unit, including what tools you’ll need as well as the best way to remove the shipping pallet. With these helpful tips, you can get your new Westwind up and running in no time.
Transcript
Hey, folks. Nick from Prima Supply. So you've just ordered your WestWind refrigerator or freezer. It's arrived, it's off the truck, and now what do you do? In today's video, we're going to be uncovering how to unbox that WestWind unit. First, before we get started, let's take a look at a few tools that'll ease along the unboxing process. We found the following to be helpful. A 14-millimeter socket wrench is preferred, but an adjustable wrench will work as well. A hammer, a utility knife, a pry bar, and finally a saw, just in case. And also, get a couple of friends to help spot you, while following the unboxing steps. All right. Let's get to it.

Westwind Commercial Refrigeration
Westwind comes out of foodservice professionals, not engineers and corporate executives. With this background, they've designed their products to be easy to use, durable, reliable, and affordable.
Check it outFeature Product
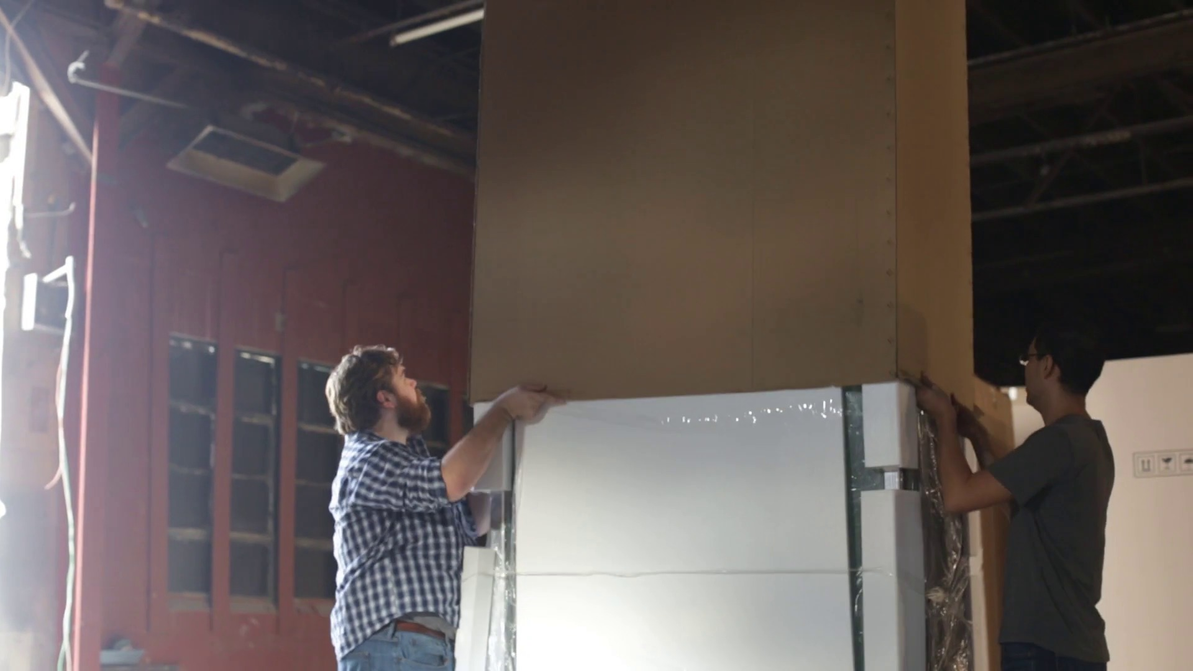
Step one, remove the packaging. We will start by removing the shipping straps that hold the box onto the pallet. Once all the straps have been severed, we will remove the entire box. Now, there are a couple ways we can do this. We recommend removing the box in one piece off of the unit. However, if you have a height restriction in your location, you can choose to tear apart the box where it's stapled together on the corners. We recommend keeping the box intact to make disposal of the internal packaging easier. And also, in the unlikely event that the unit needs to be returned, this will facilitate that process as well. Once the internal packaging has been removed, we're going to move along to the next step.
Step two, removing one side of the pallet. In this step, we recommend having one friend on either side of the unit to avoid any accidents. We're going to start by hammering out one of the supports on the side of the pallet. If you're having some trouble with this step, you can always use a pry bar or a saw to ease you along. Remember, safety first. Always have a friend support the unit while you're knocking away one of the sides of the pallet.
Step three, removing the bolts. Next, we're going to remove the three fastener bolts that are holding the unit to the pallet. This can be done with your 14-millimeter wrench or an adjustable wrench. Removing these bolts will allow us to eventually slide the unit towards the side of the pallet that was knocked away and getting the unit onto the floor.
Step four, slide the unit onto the floor. Now that we've created an opening for the castors by knocking away a side support on the pallet and unfastened the bolts, we're going to slowly slide the unit off of the pallet and onto the floor. With a couple of people, ease the unit to the side of the pallet that's been knocked away. The exposed set of castors should be touching the floor, and the unit itself should be slightly tilted. With a little bit of effort, you should be able to get the rear set of castors over the metal support. The unit should be able to slide off of the pallet and roll onto the floor. Congratulations, you've got the unit off the pallet.
Now, it's time to plug in and play. Now, before you plug your unit in and turn it on, we recommend letting the unit sit for about 12 to 24 hours. This will let any coolants settle that may have shifted in transit. Now, after it is plugged in and turned on, give another 12 to 24 hours to allow the coolant to circulate throughout the cabinet and also bring the temperature down to where it needs to be. So at the end of the day, you've got your unit, it's off the pallet, and it's plugged in. We hope you enjoy and we hope this video has been helpful. Thanks for watching.


