Gunk, Funk and Mold: A Guide to Cleaning Your Slushy Machine
Have you ever thought about how often your Bunn Ultra-2 needs to be cleaned? Have you ever thought about how to go about cleaning your unit properly? Maybe you have, maybe you love...
Have you ever thought about how often your Bunn Ultra-2 needs to be cleaned? Have you ever thought about how to go about cleaning your unit properly? Maybe you have, maybe you love cleanliness and have read your Operation manual cover to cover like a summer best hit. However, if it this is something you don't have on your priority list this blog post will be your cliff notes for getting your slushy machine spic and span.
What does happen when you don't clean a Bunn Ultra-2 properly or regularly?
So…
A little curious just how gunky, funky, or moldy a machine can get? Here are some pictures for that curious cat in all of us. Enjoy…
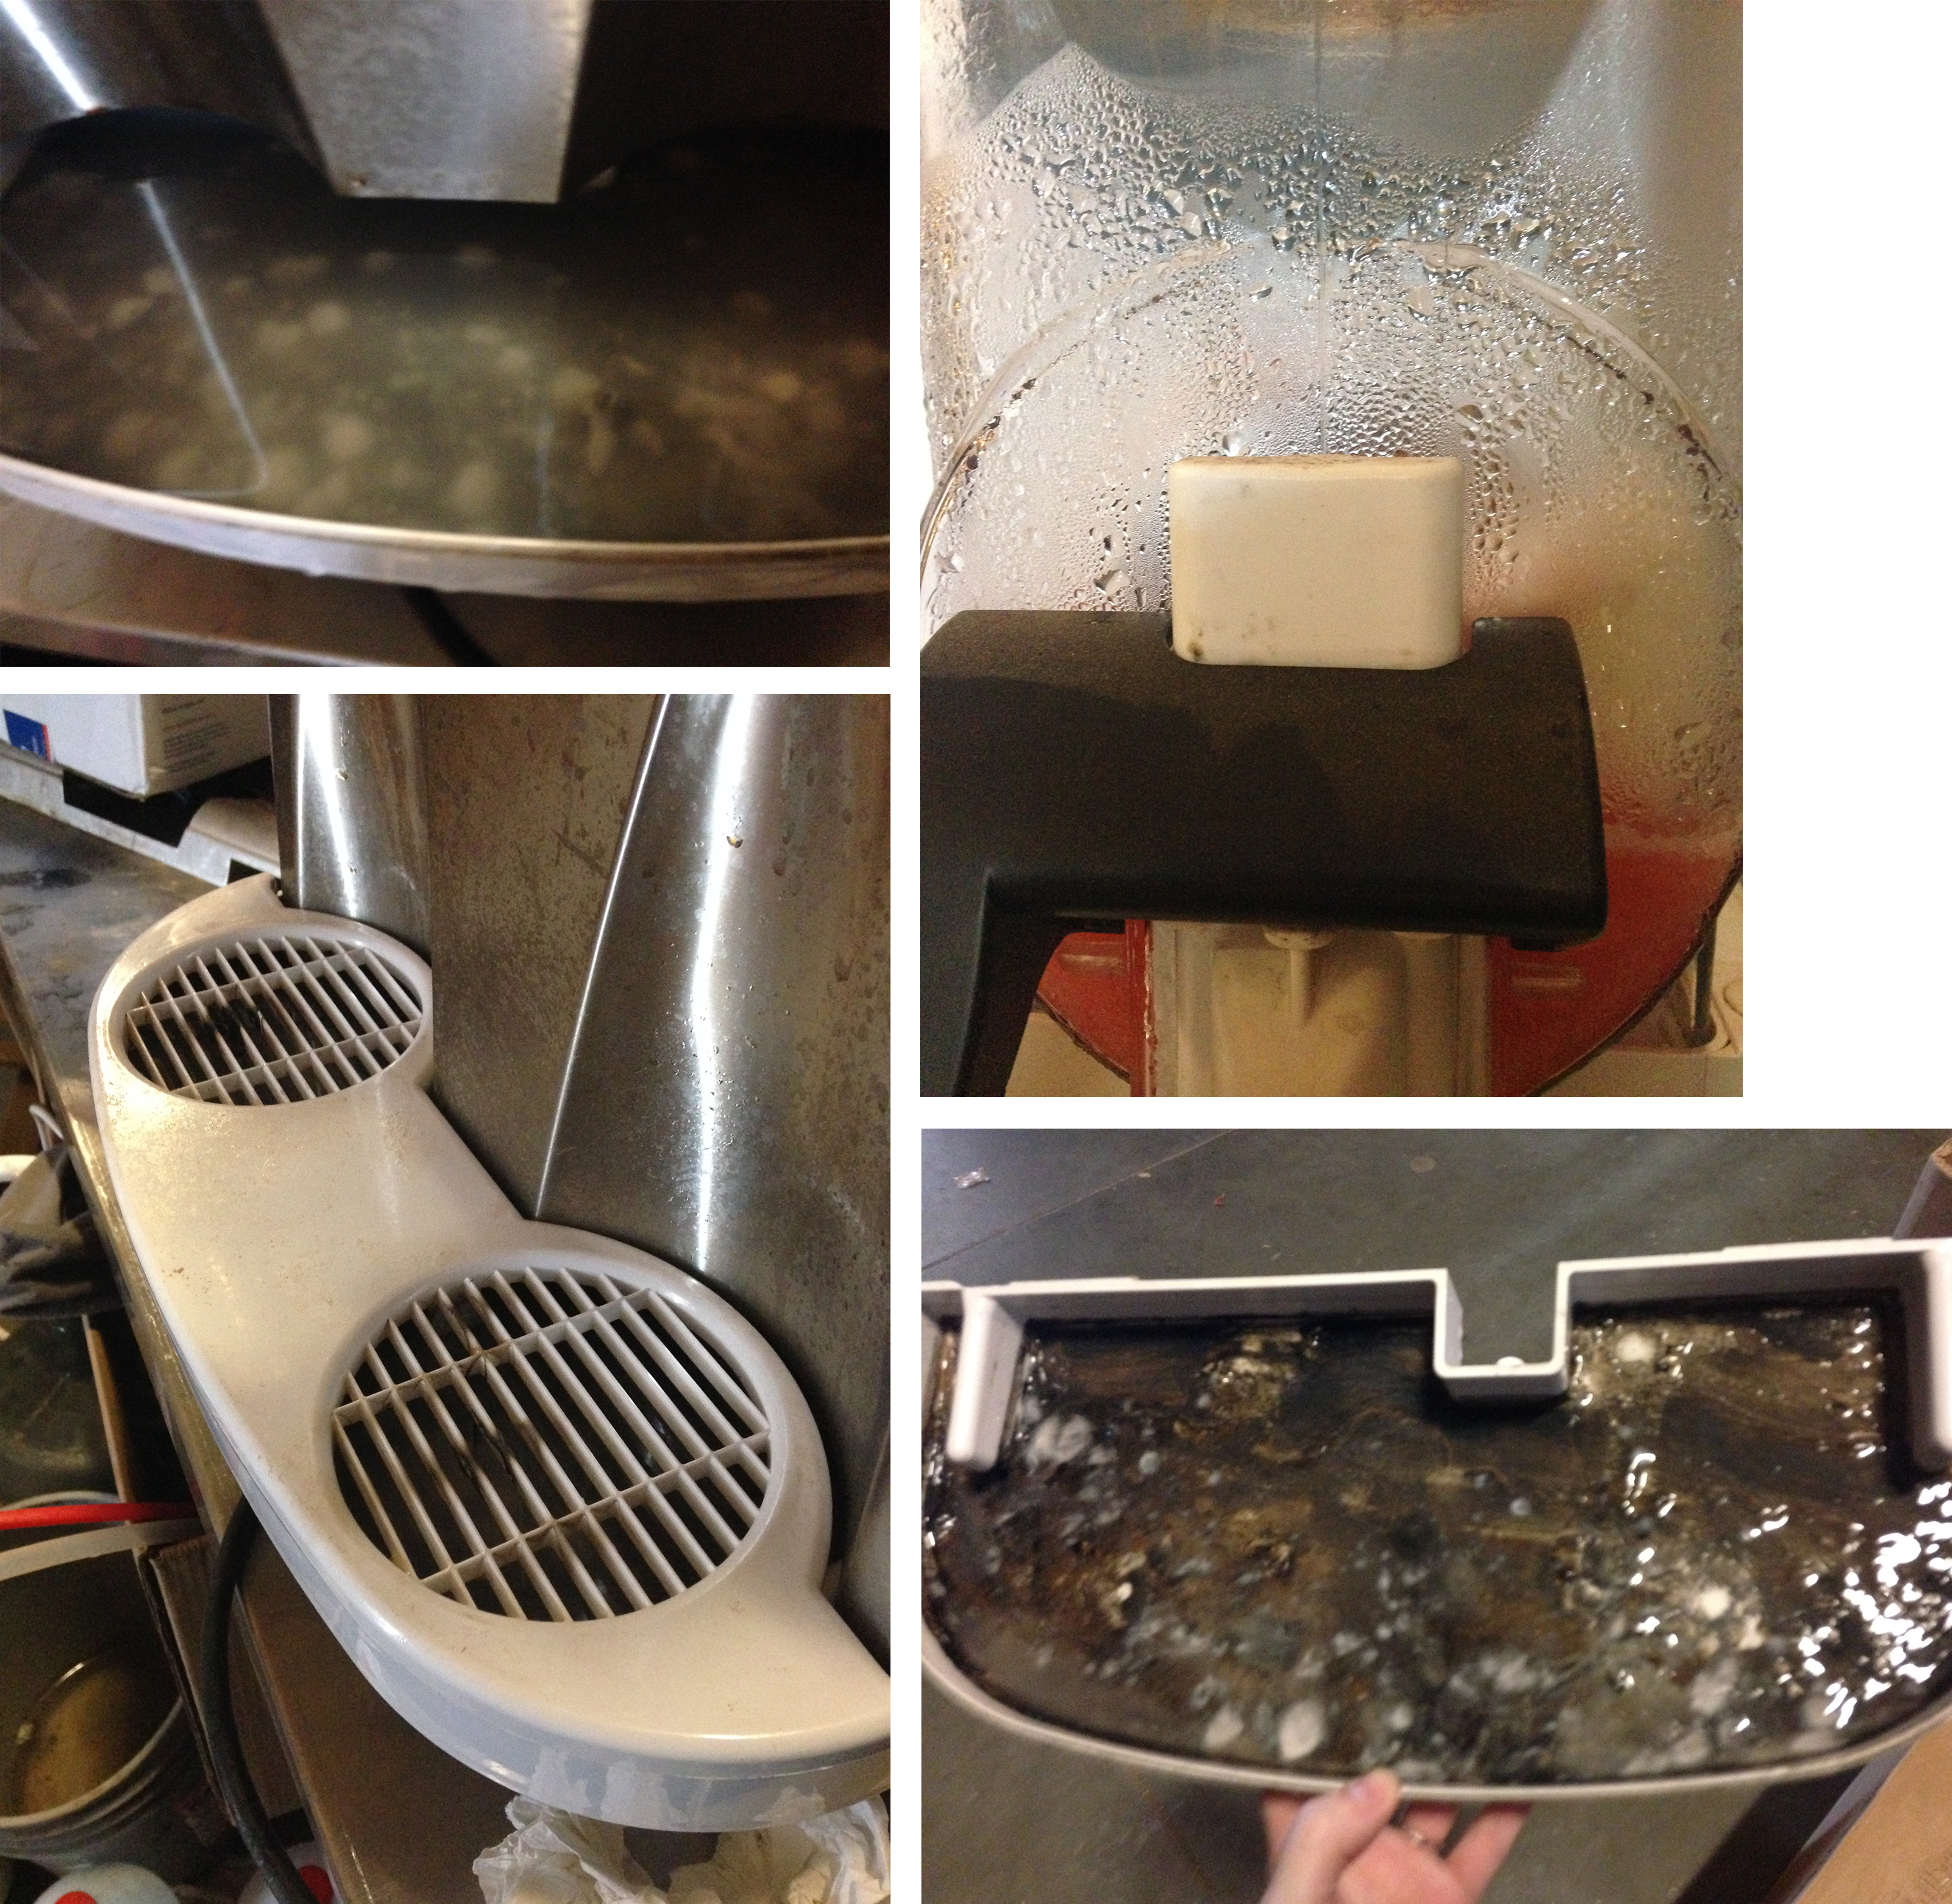
Now that you've seen some of the horror that can befall your frozen drink machine how about we turn to some fresher thoughts! Let's clean that machine!
How to properly clean your Bunn Ultra-2 Slushy Machine
The Forgotten
There are a couple of spots on the Bunn Ultra-2 that can be easily forgotten in the cleaning process and result in a less than desirable outcome for the taste and purity of your product.
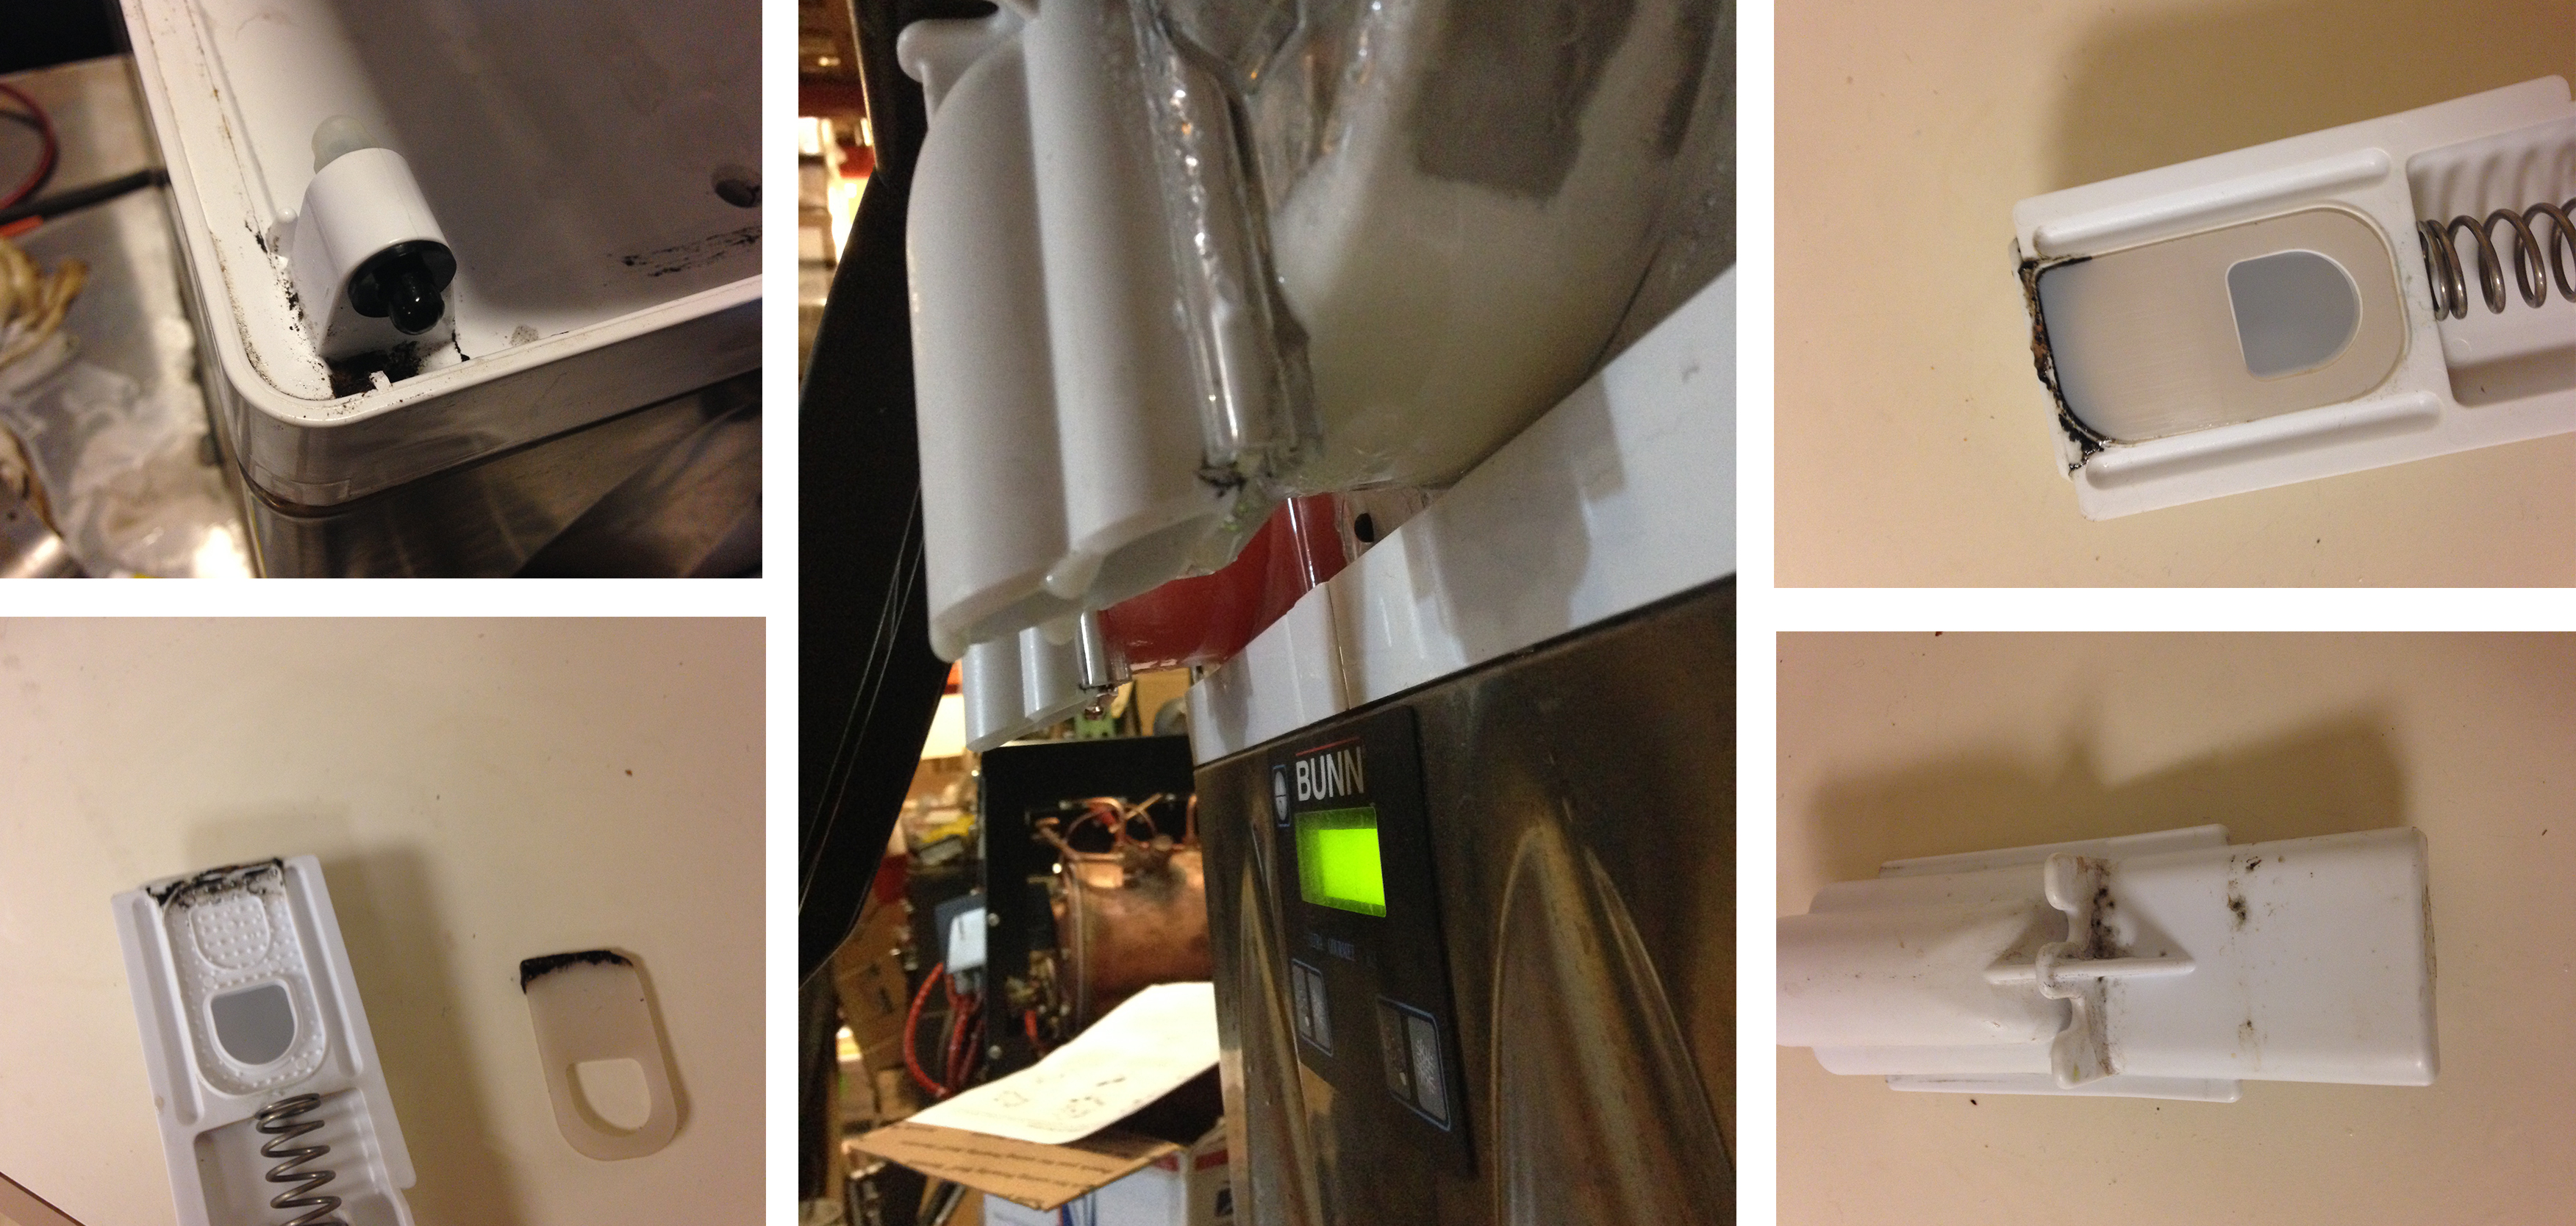
The inside edge of the hopper base, the inside of the faucet valve, the faucet valve cover and the the bottom of the faucet valve where it connects with the hopper are small and easy-to-miss spaces that can slyly collect unwanted gunk, funk, and mold. Keep this in mind as you are cleaning your Bunn Ultra-2 or similar slushy machine per the fabulous and detailed instructions provided by Bunn and the nifty hardworking folks here at Prima in this blog and accompanying video.
TO PIECES!
First things first, let's inspect the pieces as we disassemble them. Bunn offers a great step by step pictorial and illustrated guide to disassembling and cleaning their machine so let's take a look at that and use it as a guide while we remove, inspect, and clean each piece (sounds fun doesn't it!) The illustrated guide below is a remnant of a previous blog but still fantastically helpful and fun, complete with seal picture (you're interested now aren't you?).
1. Press the snowflake button until cooling is set to "off." Then, empty all the product from the hoppers. Unplug the hopper light cords and remove the lids (if you have an autofill model, disconnect the fill hose and level probe from the hopper).
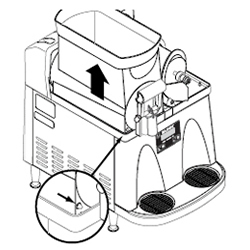
2. Press the hopper lock button (pictured), and lift the hopper up slightly.
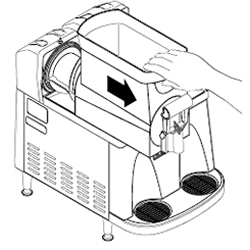
3. Pull the hopper forward to remove.
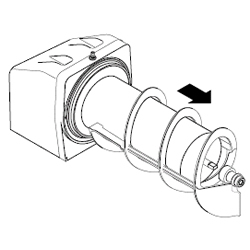
4. Remove the auger from the cooling drum by pulling it straight out.
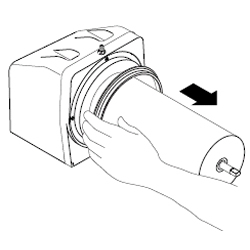
5. Remove the seal from the back of the cooling drum.

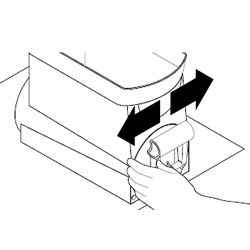
6. Caution: The faucet is under spring tension. Spread one side of the handle first, then the other in order to disconnect it from the hopper safely.
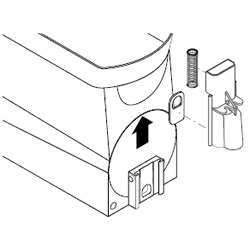
7. Slide the faucet valve up carefully to remove the spring and faucet seal. Be careful not to damage the seal. Do not bend the seal, because this will cause damage to the sealing surface.
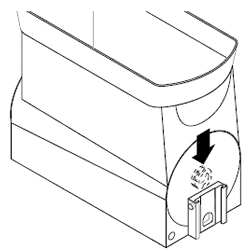
8. Take out the auger nose bushing from within the hopper.
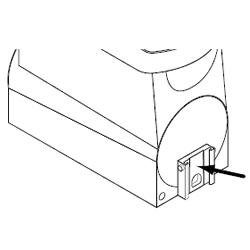
9. Be careful not to scratch the seal, because scratches can lead to leakage around the seal. (If you find that the seals are damaged, purchase a Bunn Ultra-2 Preventative Maintenance Kit).
10. Carefully wash all parts with mild hot water (120°) and sanitizer solution. Use a clean, bristle brush for smaller components and small areas. Do not immerse the hopper lids. Sanitizer should have 100 ppm (parts per million) of available chlorine with a concentration level of at least 3% available chlorine.
11. Wash the drums, hopper drip trays, and lids using a clean wash cloth dampened in hot water and sanitizer solution. Pay close attention to cleaning the shaft area.
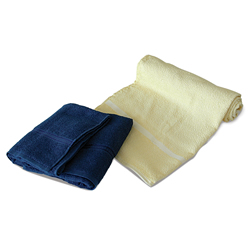
12. Rinse all surfaces with a clean wash cloth and dry with a clean dry wash cloth before reassembling the dispenser.
How to Reassemble Your Bunn Ultra 2 After Cleaning:
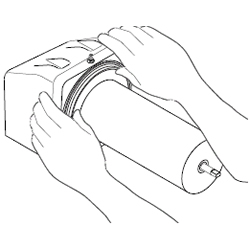
13. Replace the seals over the flanges at the rear of the cooling drums. Make sure to press the seals firmly into place.
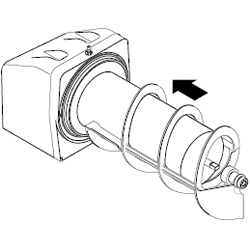
14. Push the auger back onto the cooling drum. You may need to rotate the auger so that the flat face of the auger shaft is aligned with the flat face of the auger nose.
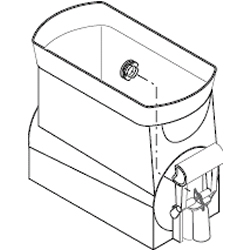
15. Reinstall the auger nose bushing into the inside front of the hopper.
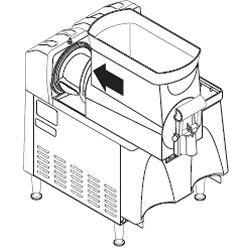
16. After having rinsed the hoppers thoroughly, reinstall the hoppers over the augers and cooling drums.
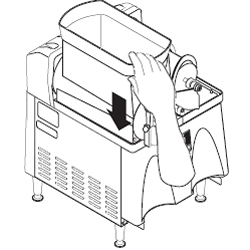
17. Push the hoppers down until the hopper lock plungers snap into place. If you have an autofill model, reconnect the fill hoses and level probes at this point.
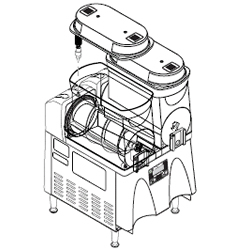
18. Replace the lids onto the hoppers and plug in the hopper lid lamp cords.
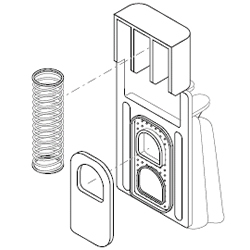
19. Reposition the faucet seal and return spring in the faucet valve.
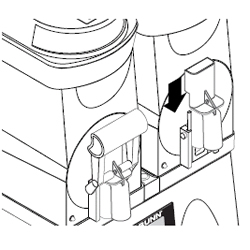
20. Slide the faucet valve assembly back into place on the hopper.

21. Pull down on the valve to compress the spring. Then, carefully position the faucet handle over the faucet valve one side at a time and snap it into place on the hopper.
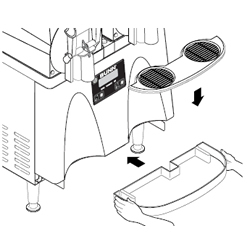
22. Reattach the drip tray.
23. Using the touchpad, turn on the augers and select your desired cooling settings.
Grime Fighting Initiative
Now friends, none of this is meant to deter you from slushies, cause mass hysteria, gunk/funk/mold paranoia, anal retentive cleaning practices, or even make you queasy (although that might have happened, sorry!). No, the purpose of this blog is just to remind you, that the hard work you're putting into cleaning your equipment and following all those seemingly insignificant and pesky guidelines and procedures is a great thing! You fight that gunk, funk and mold! Way to be a small business hero.
Resources
Bunn offers some great printable resources for your Bunn Ultra 2 machine. Below you'll find the PDF versions of their Installation Manual which features the cleaning guide above as well as their Quick Cleaning Guide which can be printed on one sheet.
Installation Manual with Cleaning Guide
Help!
Something going wrong with your machine? Need some assistance? Call the Bunn Technical Service: 800-286-6070
