Product Maintenance | How To Clean A Bunn Ultra 2 HP Frozen Beverage Machine
Cleaning your Bunn Ultra 2 can seem daunting and complicated. This video guide and blog are here to help! Walk through the process with us step by step as we dismantle and clean a Bunn Ultra 2.
Transcript
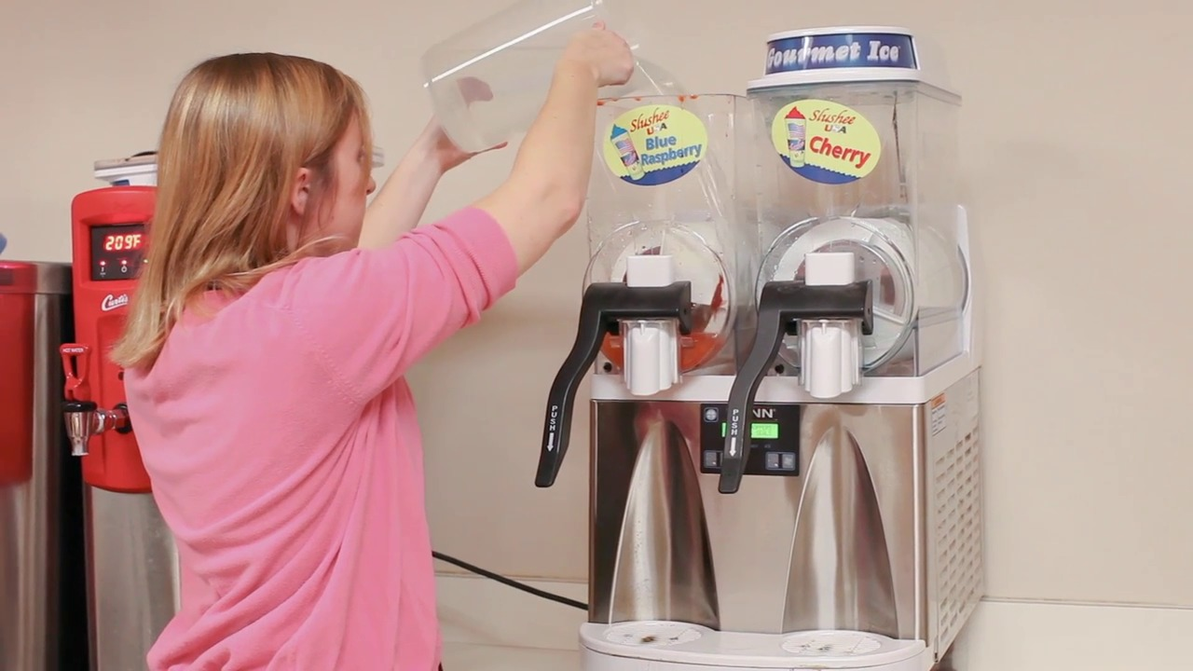
Hi, I'm Jess at Prima Supply and today we're going to talk about how to clean your Bunn Ultra 2 Slushy machine. So, to start off I'm going to explain what you'll need for this project and, surprisingly, it's very simple. You'll need sanitizer to soak your unit in once you get it disassembled. You'll need three clean washrags or a towel, depending on your preference. You'll need a large bucket, like this one, to catch all the fun stuff you've got rolling around in there, and you'll need a clean pitcher with water in it to help flush out any left over stuff that can get in your way. So, to start off, first we want to make sure that we get all of this stuff drained out and for that you're actually going to leave the augers on because they'll push all the liquid out for you. Now we're going to take off the lid, making sure we disconnect it in the back. So we're going to use water to flush that out so that at the end, when we're taking off the hopper, some of that liquid that's left will just be water instead of this really sticky stuff that's hard to clean up. Now that we've flushed it twice it looks good to go. We've got clear liquid in the bottom. So now we're going to start disassembling the whole unit.
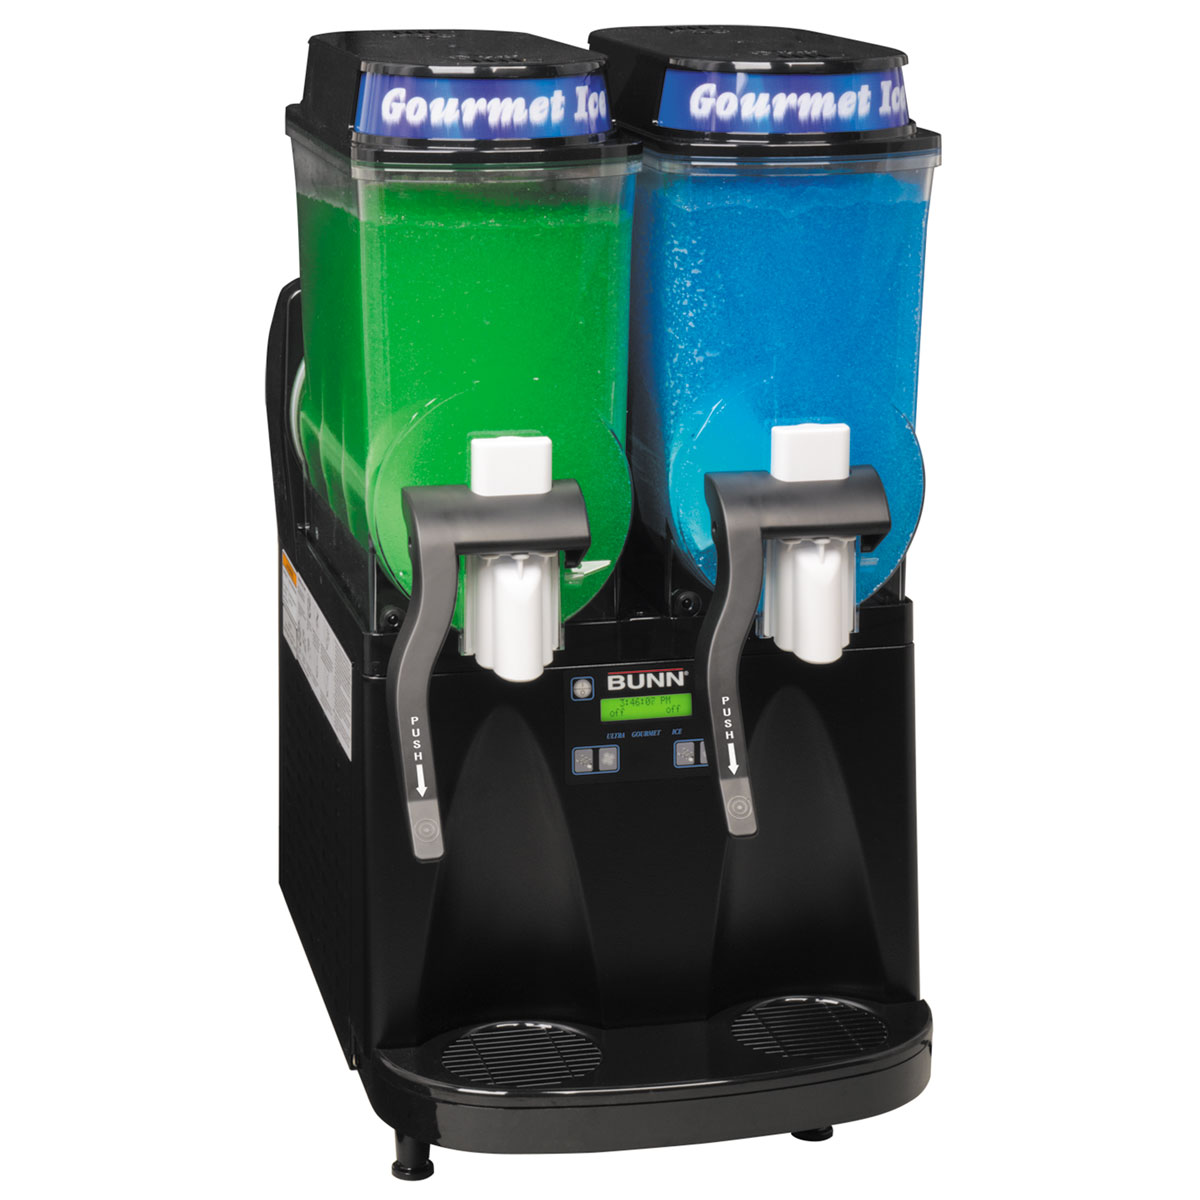
Bunn Ultra-2 HP Frozen Beverage Machine
Refrigeration system internally monitored to ensure long lasting performance.
Check it outWe're going to take off the hoppers and the valve handles, and the faucet valves, augers, seals, all this fun stuff. But first, we need to make sure that we turn off the augers and you do that right here on your command board with the auger switches or if you're in the cleaning mode, that I'll talk about in the operations video, you can do it right from the cleaning screen. We're going to start with removing these big black cables here and it's a little bit difficult. You have to add a little bit of pressure to it but they will come off. Just, you know, don't put too much pressure. You don't want to break them, of course. So you'll hold one side and pull on the other side until you get it to kind of pop off. There's a little knob here and here that holds this on. Now that we have the handles off and soaking in our sink of sanitizer, we're going to remove the handles. As you can see, some of the liquid's going to drain down into your drip tray and that's totally fine. Here, you can see, this is where your mold and your dirt is going to collect and you're not going to get to see that unless you're taking your unit apart regularly. Bunn recommends that you take it apart everyday.
You can program your machine to remind you every two days, every week, but you're going to want to clean it out regularly because this will happen and this is dripping down into your slushies. That's really gross. Now you're going to remove this and then put it in the sanitizer to soak on both sides. Next we're going to remove the hoppers themselves. This part is a little bit tricky too just because there's a little pressure button here and here and you push that in and then push that up and out. Sometimes there can be a little bit of a seal there that gives you some resistance. Then you'll soak these with your other, your other parts. On the inside of this is an important piece called the auger bushing. It just slides right out but you'll want to remove it because you want to wash it separately and you don't want to lose it. It's super important. Next we have our augers, they're very simple to remove. You simply pull them off, put them to soak, you're good to go.
The last piece that we need to disassemble is this auger sealing ring here in the back. It's just a little seal and it comes right off but it can get really dirty. So we want to make sure that we soak that and get it nice and clean. Okay, the last piece that we need to disassemble and soak is the drip tray. This is another area that because you don't see parts of it, can really hold mold and dirt and some nasty stuff. So you just remove the top part and as you can see, it's hiding some pretty nasty stuff under there, and you're going to put it your solution to soak. This next part is the actual drip tray and this is where all the liquid that is missing the cup or dripping in between cycles is going to fall down here and if it's not cleaned regularly it'll collect into this bacteria and mold, and just really nasty stuff. You want to be careful when you're pulling it out that you don't do it too quickly or too harshly because you'll splash some of that nasty stuff that's left in there onto you or your counter and you don't want to clean more than you need to clean. So, as you can see here, we've got a lot of nasty stuff collecting from just not being washed as often as it should be. Again, you're going to want to soak these things for at least five minutes or more depending on what state your slushy machine is in. Now, while your components are soaking in the sanitizer solution, we're going to clean the outer unit, the cooling drums, this inner part here and the inside and outside of your lids.
Now, the reason we can't soak the lids is because there's wiring on the inside that can be damaged and destroyed if we submerge it in the water. So, while that's going you can be getting all this prepared and we're just going to take a warm rag that has our sanitizer solution on it and wipe down the whole unit. In this base there are crevices along the outside that collect mold and dirt that if you're not looking for it, it can collect because it's hard to get it if you just are swiping around getting the general clean. So you want to make sure that you're watching that and getting down in those grooves if you start to see stuff collect. See, it's collecting on our rag. Now, once you're done cleaning it with the solution, you'll take your second rag and rinse it with warm water, then just run it over the whole unit to make sure you've gotten all the cleaning solution off. Then you'll follow that with a drying rag and you'll just dry off the unit. It'll air dry a little bit as you're waiting for your other components to soak and be washed so everything should be good to go and ready to reassemble once you get those things washed.


