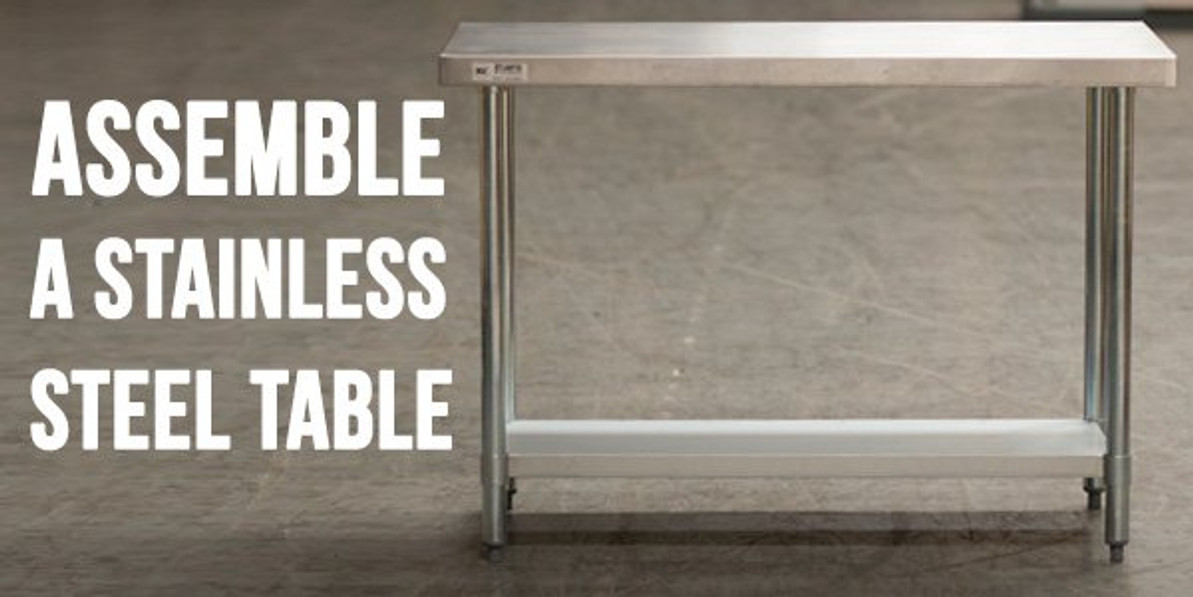
How to Assemble a Stainless Steel Table (From the Most Affordable Equipment Dealer)
May 6th 2014 Written by Daniel.hurd@primasupply.com
15 PARTS / 8 STEPS

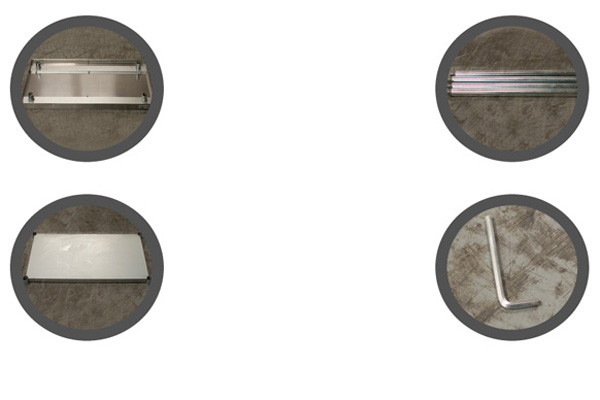
1-TABLE TOP
4-LEGS
1-UNDER SHELF
1-HEX KEY
8-HEX SCREWS (Attached to table top and undershelf)
INSERT LEGS
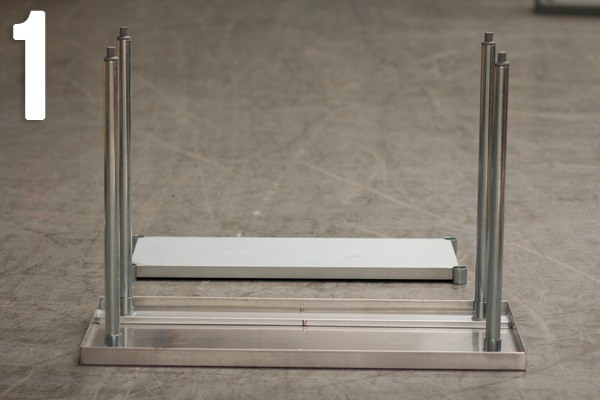
Flip table top on its back. Insert 4 legs into holes (gussets).
TIGHTEN LEGS
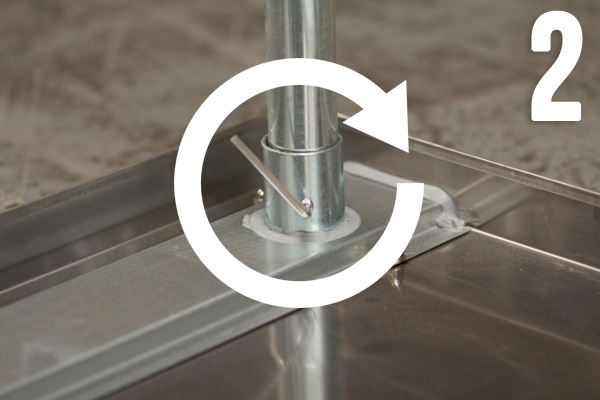
Use hex key to hand-tighten hex screws on each leg. Turn clockwise to tighten.
ADD UNDERSHELF
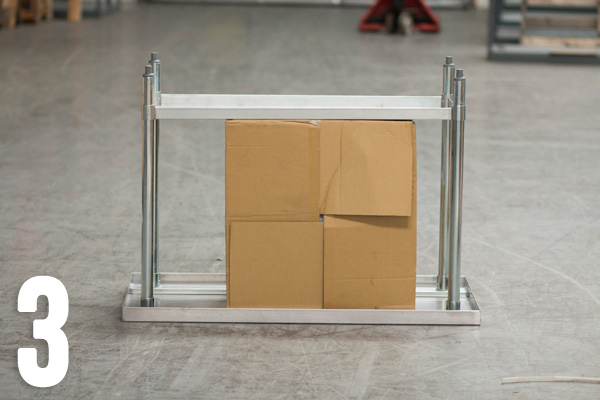
Get help from a friend or place a cardboard box on your table. Add undershelf face down onto the legs.
ADJUST UNDERSHELF
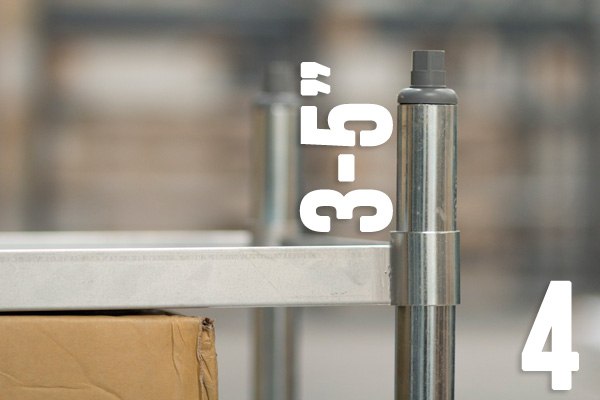
Place undershelf 3 to 5 inches from bullet feet.
TIGHTEN UNDERSHELF
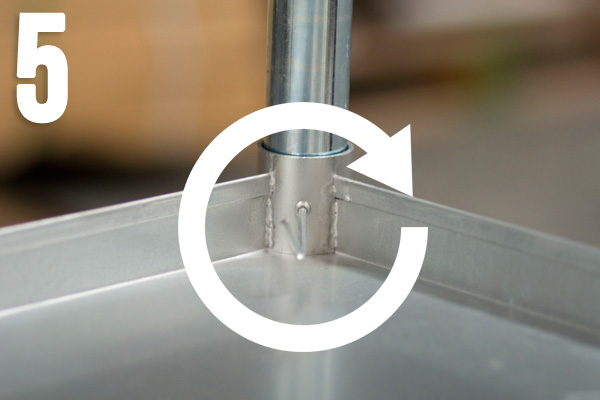
Hand-tighten with hex key on each side. Measure each side to ensure evenness.
ADJUST TABLE HEIGHT
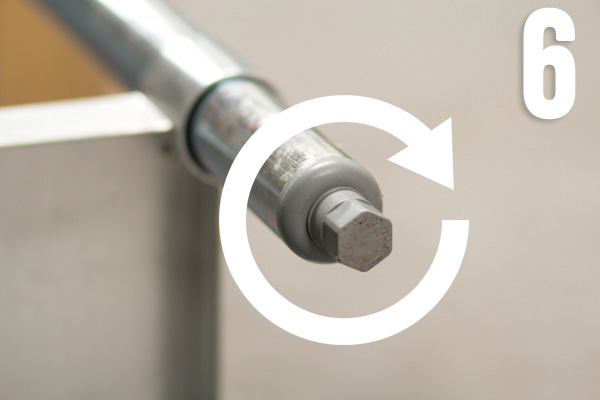
Turn bullet feet clockwise to shorten.
ADJUST TABLE HEIGHT
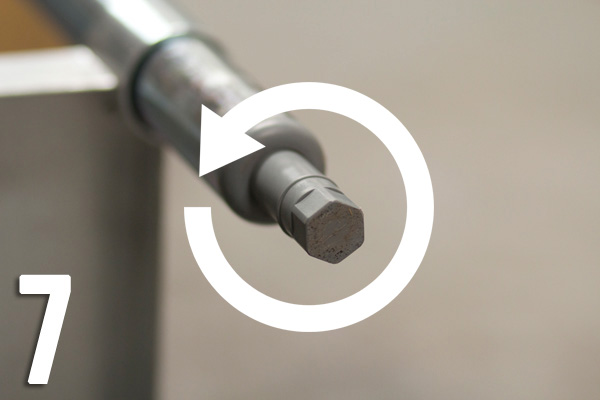
Turn bullet feet counter-clockwise to extend.
YOU'RE ALL DONE!
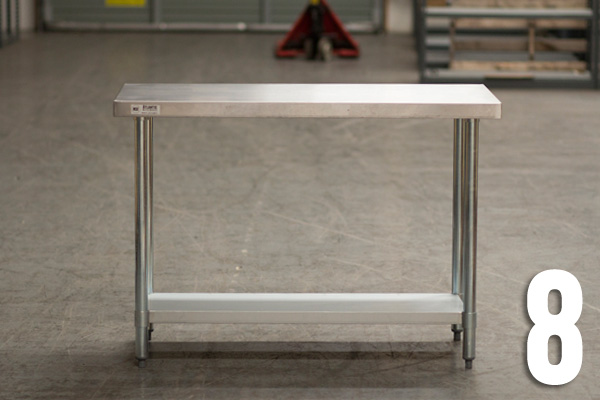
Congrats! Browse our full selection of stainless steel tables, sinks, shelving, and more!
May 6th 2014
