Product Maintenance | How To Change Your Vitamix Drive Socket
Changing your Vitamix drive socket is a crucial step in keeping your blender at peak operating condition. In this video, Daniel demonstrates how to change the drive socket in your Vitamix, with an easy to follow, step by step narrative. Watch along and learn all you need to know to change your Vitamix drive socket, and get your machine back to work faster!
Transcript
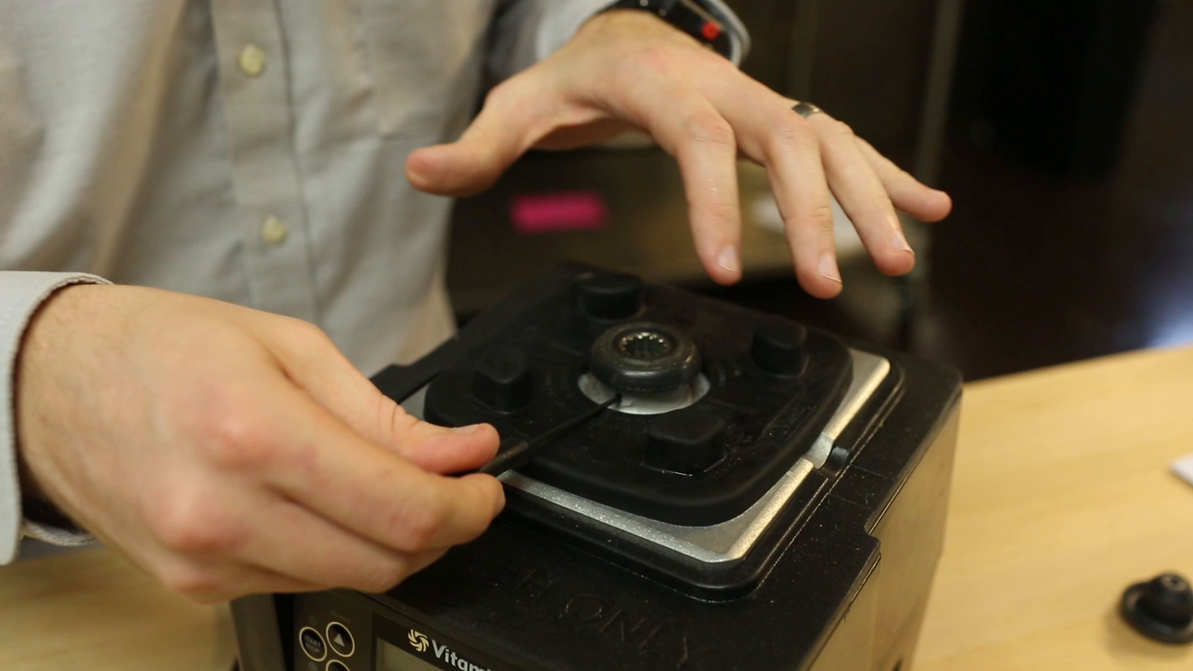
Hey. This is Daniel with Prima Supply, here today to talk to you about how to change your drive socket on your Vitamix blender. So it's a really important piece, because it connects your motor to your container. This is a worn out drive socket. Some of the teeth on the inside are worn down, and so it's time to change this socket out. So first thing, you get your hex wrench, which comes with your replacement drive socket. There's an arrow right here. You want to line that up with the hole, which has some silicone covering it which you can either just jab right through or kind of pull out. You'll want to replace that once you're done with replacing the socket. So I'm going to stick my hex wrench in here at an angle.
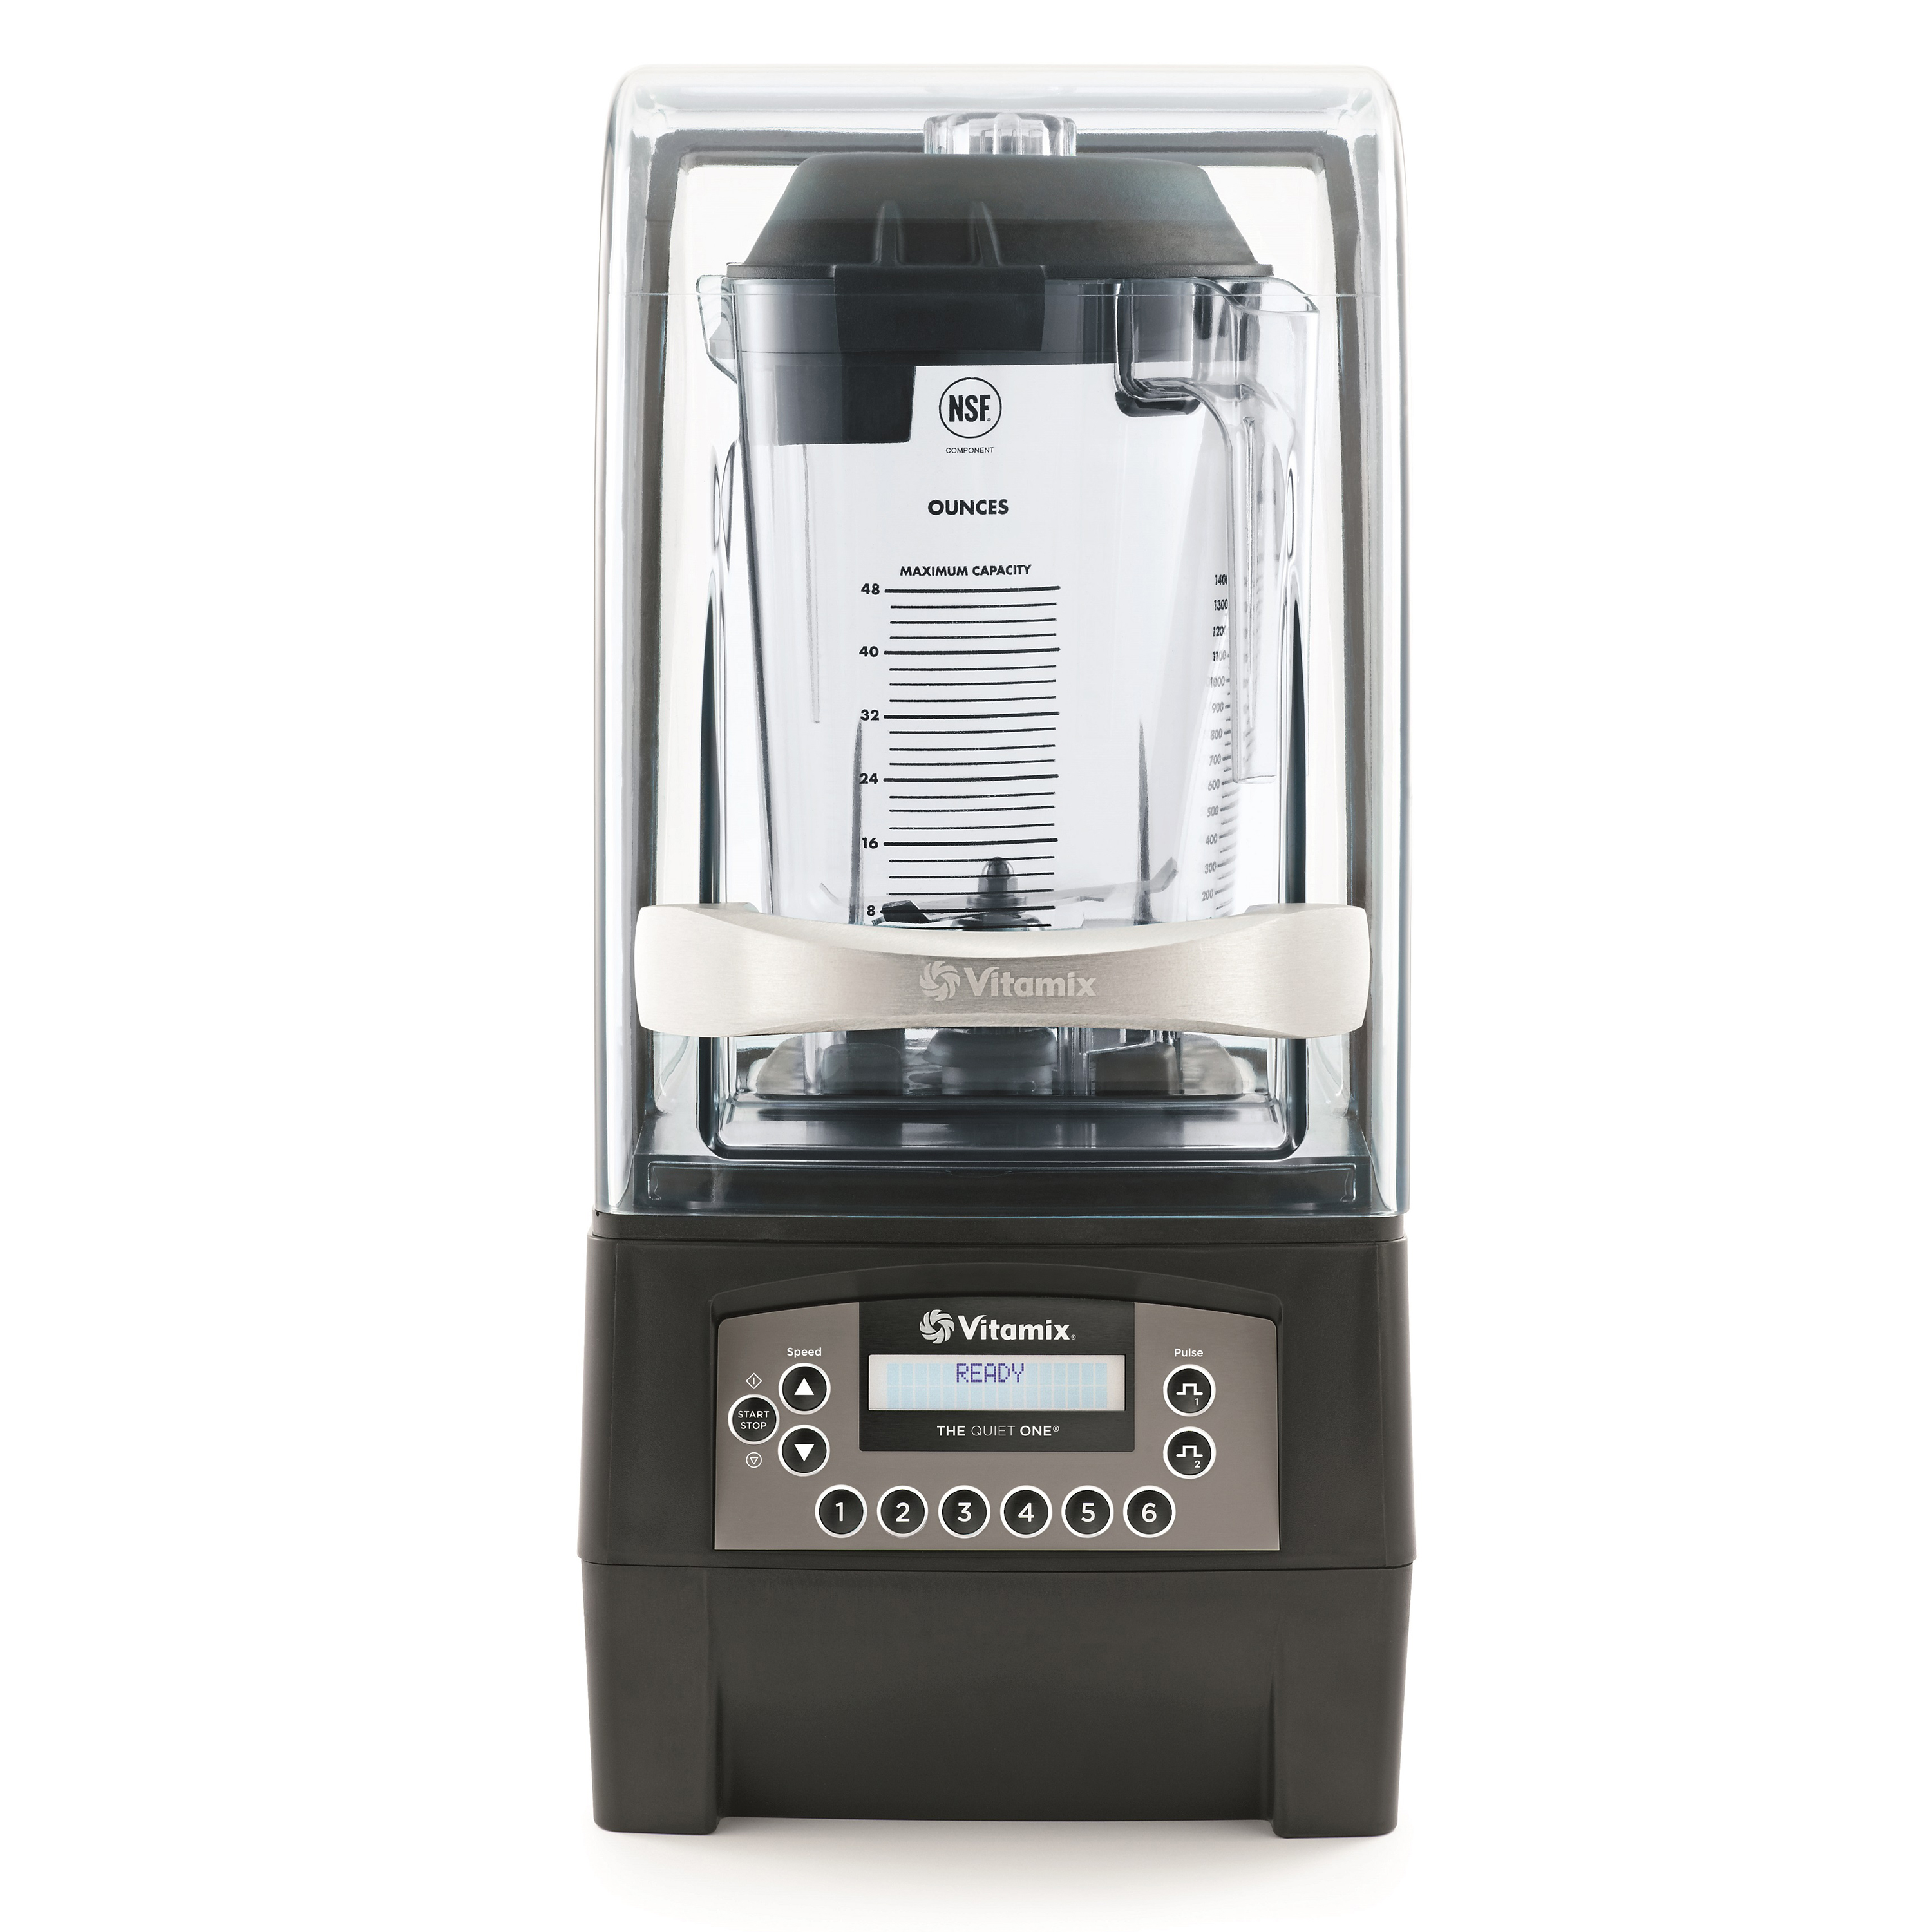
Vitamix 36019 - The Quiet One Blender - 48oz
Vibration dampening technology reduces noise to create a more customer-friendly atmosphere.
Check it outIt's like a 45-degree angle. You kind of have to feel it out, and it'll kind of click in place a little, to make sure that you got into the inset. Then, you just want to twist counterclockwise until it is loose, generally, and then it'll probably just pop right out. Right. Then, get your replacement drive socket, find that same arrow, or you can just look for the inset screw. And then just toss that right on there. Line up the arrow again with the little hole. Put your hex wrench in there at a 45-degree angle. So just kind of have it angled, and then again feel it out for getting in there because you can't really see it. Then, you want to hand-tighten this. You can try to move it around, but it won't move. You want to pull back about a quarter-turn, and then you want it to kind of pop like this when you move it up and down, because you don't want it to be too tight. So that is how to replace your drive socket. Thanks so much for watching.


