Product Maintenance | How To Clean An Ice Maker
When it comes to having pure, tasty ice, keeping your ice maker clean is a must. Over time, mold and mineral residue build up in a machine’s nooks and crannies, and can make cleaning seem like a hassle. In this video, Nik delivers a simple guide to cleaning an ice maker, and demonstrates each step from start to finish. Ready to go from moldy to clean? Watch along to find out how!
Transcript
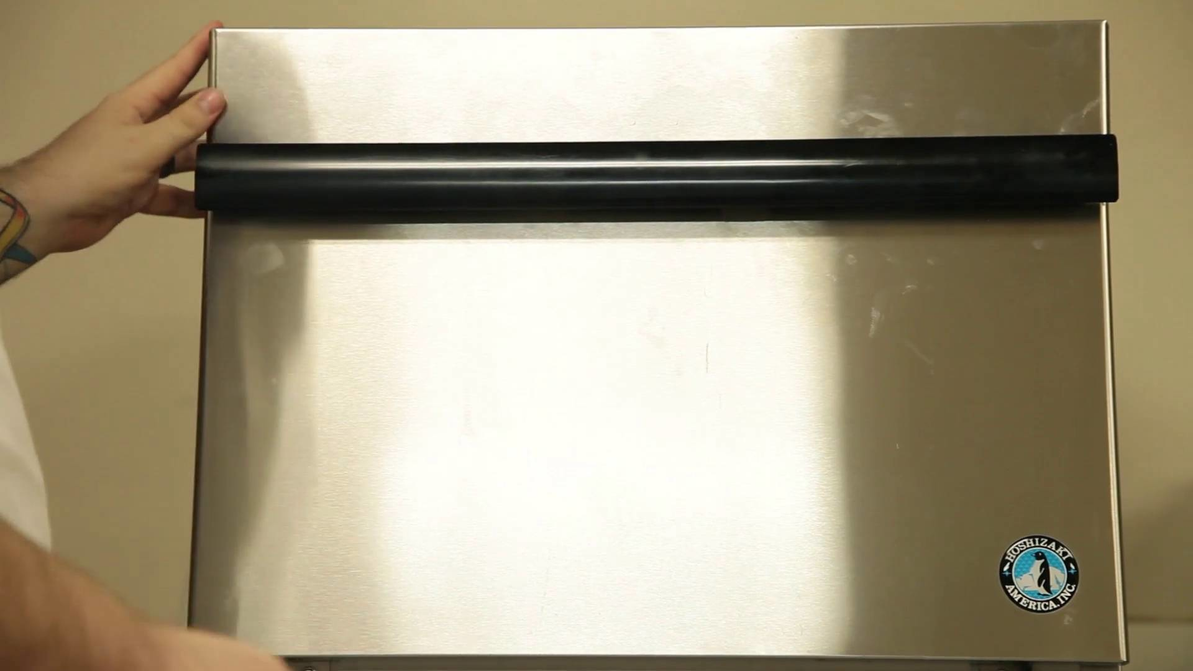
Hey folks, I'm Nik from Prima Supply. Today's video, we're going to be covering ice machine cleaning. This particular model is an under-counter from Hoshizaki. One of the big things with cleaning an ice maker normally comes from a lot of mold build-up. In this particular model, we needed to take the top off to get to the evaporator assembly, as well as expose the bin a little bit more for better cleaning. So, we're going to go ahead and open it up. And start off by taking off the vent covers at the bottom here, and turning the machine off, the on/off switch here. After we turn the machine off, we're going to go ahead and unplug it also, for safety reasons. So now that we've done that, we're going to go ahead and open up the ice maker. And typically, on this particular model, there are two screws that keep this top cover on, I went ahead and took those off. We're just going to...take that off there. Remove our control switch. Set that off to the side. And then take off this top insulator panel.
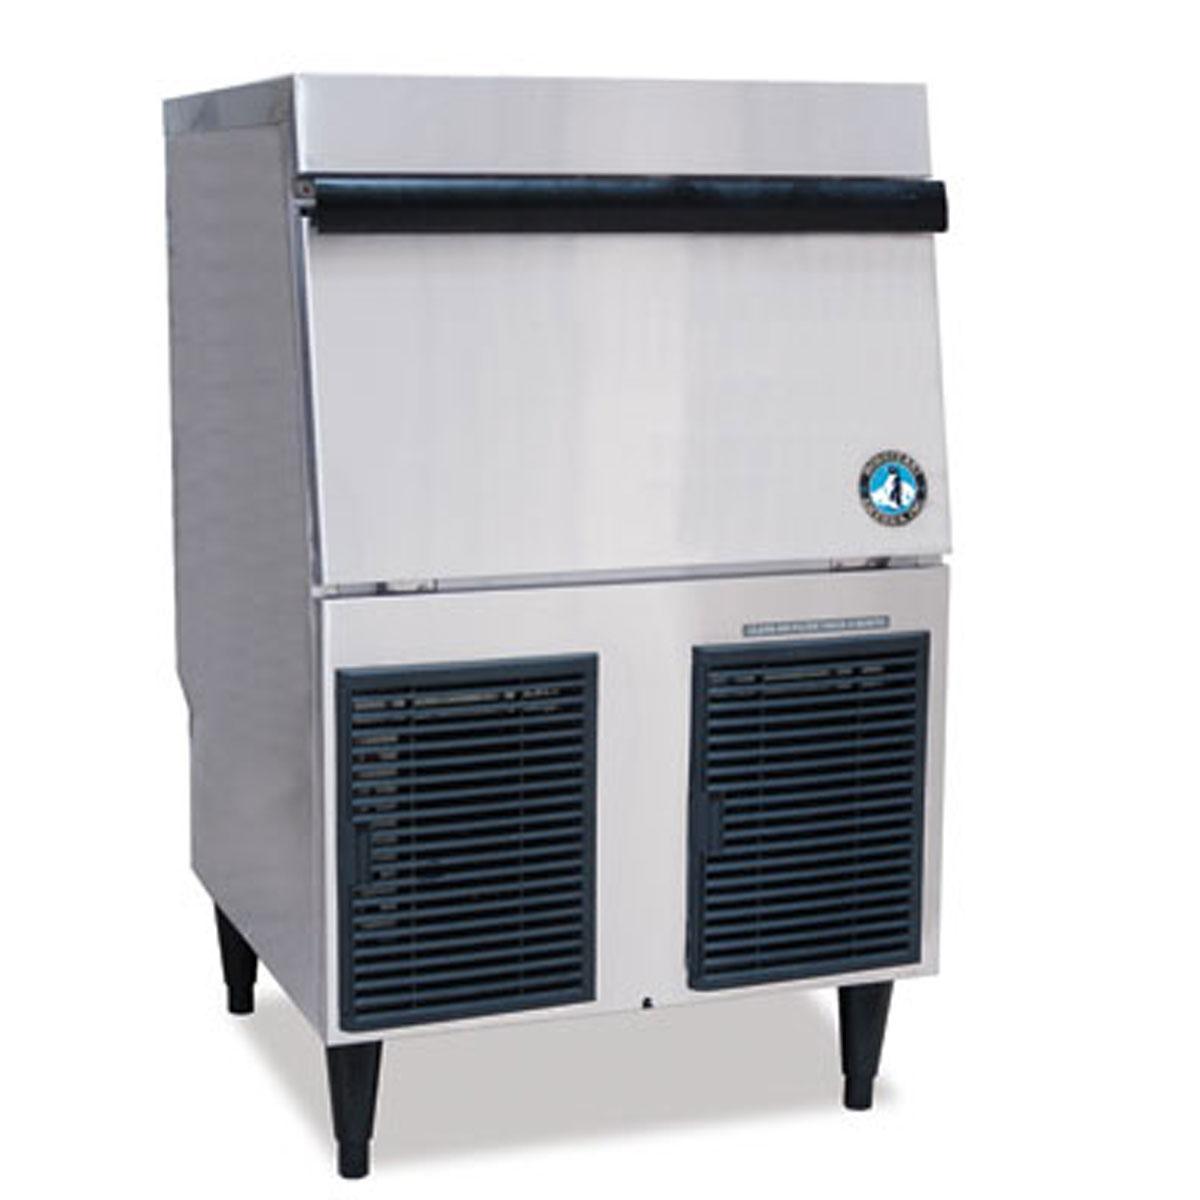
Hoshizaki F-330BAJ - 332 lbs/day Series Flaked Ice Maker Machine
The Flaker series internal auger design produces the highest quality ice with fewer repairs and less down-time.
Check it outAnd as you can see, mold doesn't just grow in the bin, it can also grow around the bin as well. The next step will be to take apart the chute. There's typically a couple of thumbscrews here, on the chute itself, and then on the back part of the chute there's a few thumb screws. We've already taken those apart. We're going to pull this out. Yeah, look at all that mold and slime that's been growing in there. It's very important to clean these machines and maintain them, or you can have an issue on your hands if the health department shows up. You can see, there's mold in the chute, slime on the bottom part there. So, what we have back here is the evaporator setup and assembly. We're going to start by pouring some cleaning solution down into the evaporator, until it fills up. And, typically, if you have a lot of scale build-up, depending on the harshness of your water, the amount of minerals in your water, you can fill up that tray to overflow onto the evaporator catch-pan as well. Just to help get some of that lime and mineral build-up off of there.
So I'm going to go ahead and start by filling that up. And it's a good practice to close your water lines, also, before you start on this. And we're just going to keep pouring solution in there, until it starts to spew out. If you have excess scale on the extruding head, fill the evaporator simply in the reservoir, all the way to the top. Use a clamp on the reservoir hose, between the reservoir and this evaporator assembly to block the flow. All right, so while we have the solution setting in the ice maker, I'm going to go ahead and start cleaning out this ice bin, by pouring a little bit of sanitizer cleaner in here. You can take a sponge, like this, or a Brillo Pad, and just kind of, feel back and forth. Get all the nooks and crannies, you can just see how easy that mold comes up here. Make sure you get down in that pipe as well, because that's where some of that mold can fester, if you're not careful. I always like to...after I get done cleaning the bin, pour a fair amount of cleaner and solution, just so that drain gets cleaned out as well.
All right, so we have put cleaner down the evaporator of this ice maker, we've cleaned out the ice bin with a cleaning solution, and we've taken out the parts and have cleaned them with a cleaner solution as well. So, in the beginning you remember we had a lot of slime build-up here, there was mold on the top. And then this guy was very moldy as well. So we cleaned those out, to make them ready for the next part of this cleaning, which is going to be the flush, where we're going to allow the ice machine, that has taken all that cleaner that's been sitting in the evaporator for the past 10 minutes or so, and it's going to actually push that cleaner through the system. So we're going to put things back where they go. So after we have reassembled the parts that we took off to clean, we're going to go ahead and get the ice maker plugged back in, and we're going to turn it from off to on. And if you have the system on flush, go ahead and put it on the ice maker position. This is going to allow the cleaner to circulate throughout the system, and pretty much cleanse the evaporator and all parts that are a part of that assembly, from the reservoir and the hoses and everything involved. Once the cleaner has run through the system, you're going to switch it back to flush to drain the rest of the cleaner out of there.
So after the system has gone through a flush, we're just going to go ahead and replace this sensor back in here, and put the top insulation back on. Like that. And then we're going to put our baffle in here as well. There you go. And we're going to put this front panel back on, and the machine should be ready to start making ice. All right, so we have taken everything apart, cleaned out the machine thoroughly, and put it all back together. Ideally, the whole cleaning process should take about 20, 30 minutes max, depending on the machine. When it comes to putting the solution in there, typically you can expect to wait about 10, sometimes 15 minutes for the solution to settle before you run a clean and flush cycle. Always follow the instructions in your ice maker's manual for it's particular cleaning procedure. But, essentially, that's what you need to do, to keep your ice maker clean and healthy. Thanks for watching.


