Product Maintenance | How To Reassemble A Bunn Ultra-2 HP After Cleaning
Reassembly is a snap with the Bunn Ultra 2! So walk with us step by step as we reassemble your machine after the cleaning and drying is done.
Transcript
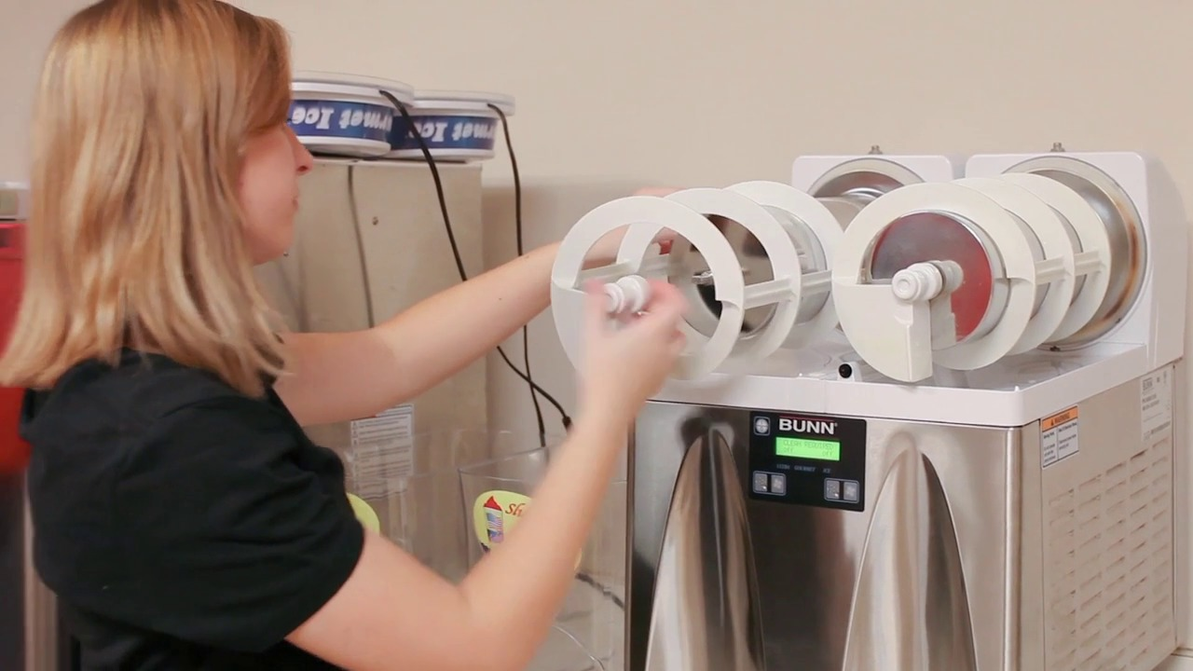
Now that our machine is all cleaned and dried and all the components have been soaked, washed and dried also, we're ready to reassemble and get ready for business again. So first, we're gonna start with the auger seals. And as you can see these look dirty, they're actually very clean but they have been stained over years of not cleaning it properly and as often as we should. So we put those back on with a little bit of pressure not a whole lot. You just want to make sure it's wrapped all the way around the back of the cooling drum. And this creates the seal for the hoppers that you don't have stuff spilling out everywhere. So really important that you make sure you have this placed exactly.
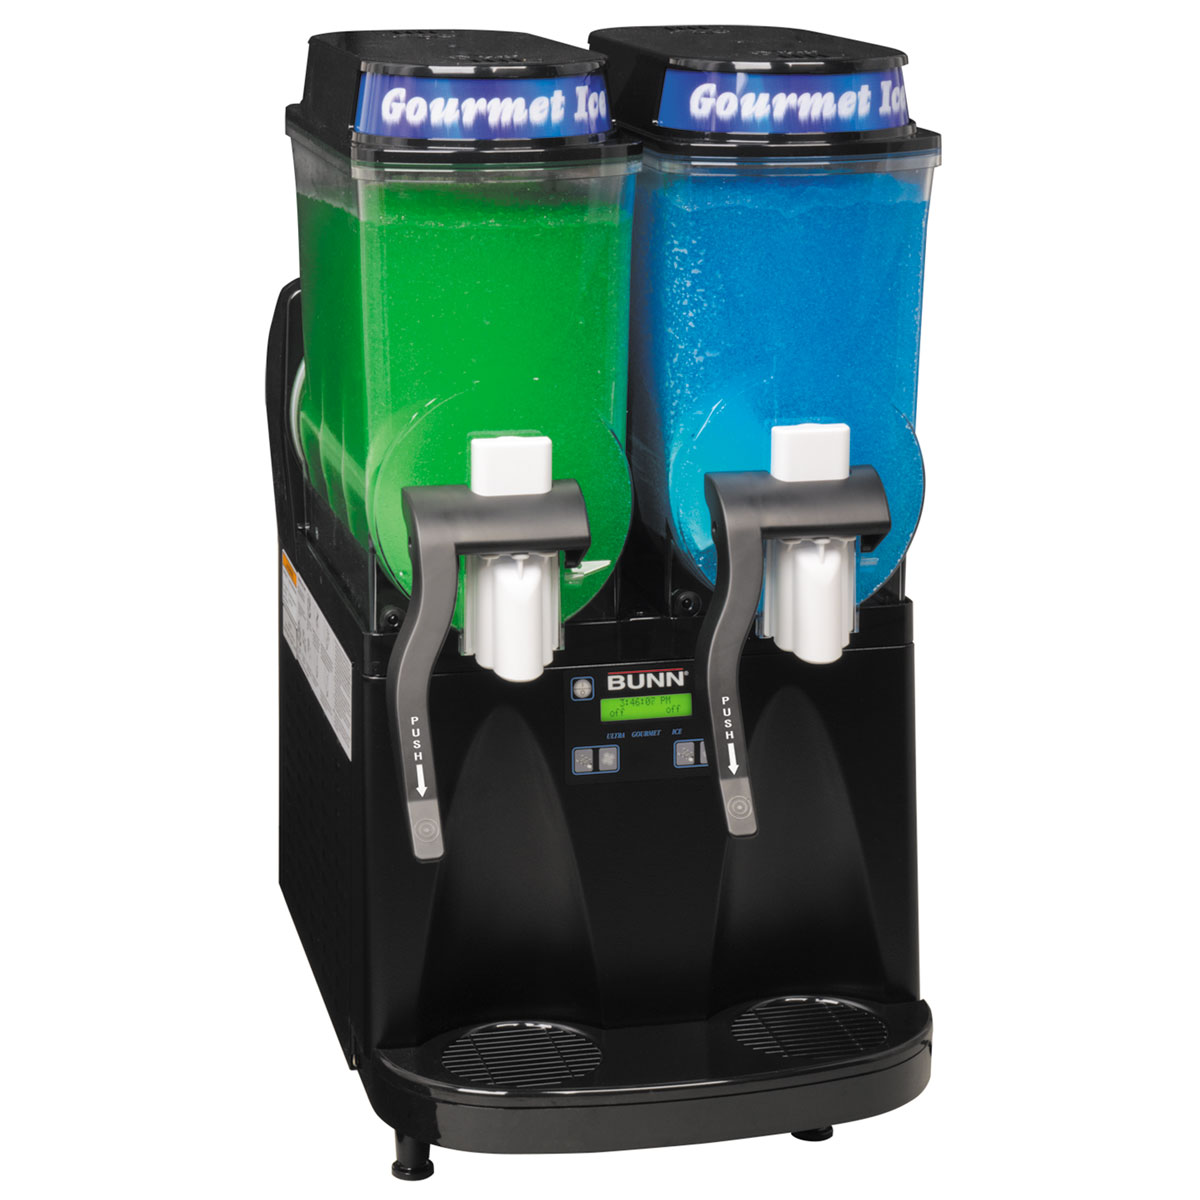
Bunn Ultra-2 HP Frozen Beverage Machine
Refrigeration system internally monitored to ensure long lasting performance.
Check it outNext we're gonna put on our augers. This is also very simple. We line it up, there's a flat part inside of this nose. There's a flat part on your drum and so line it up. We're gonna twist it so that our paddle here is vertical. Pretty simple. There you go. Now next we're gonna take our bushings that I said were so important, they are still in fact important. We're gonna slide on right back into their homes. After you get the bushings put back into place, we're actually going to reattach the hoppers. This is pretty simple. Slide it up and over and all the way to the back and then . . .work with me a little bit. And once your hopper is locked into place and the button you can tell is pushed back out, your hoppers are ready to go. Now it will take a little bit of effort and if you struggle a little bit at the outset, totally normal. There's a seal in the back, you're getting everything all sealed up again so it takes a little bit of extra effort.
Next we're gonna put on the valve and the handle. So we're just gonna reattach our valve seal. Very simple. And then slide it back into place. Now taking these off the handle lock was a little bit difficult and it's a little bit difficult to put it back on. Takes a little bit of pressure and elbow grease. So we're gonna push down on the valve and then put the handle over it and lock it into place. Just like that. Now your handle works and your slushy will come out. We're gonna replace our lid. Be sure the cord is in the back, reattach that and then your slushy machine is good to go. To reattach the tray, you simply slide it into place and magnets will click in the back letting you know that it's secure. So now your slushy machine is clean and reassembled. If you would like a step-by-step guide, there are printable resources on our cleaning blog as well as other videos available through us on how to initially set up your Bunn machine and also how to use your command board and all the really cool functions that Bunn offers. So thanks for watching and I hope it was helpful.


