Product Maintenance | How To Install Your Westwind Refrigeration Unit
Installing a new large appliance into any commercial kitchen can be tricky, so we’ve put together some tips to make your new Westwind’s installation as painless as possible. In this video, we tackle what you’ll need to know as you prepare to install your unit, including removing it from the delivery truck, accounting for its spatial needs, and ensuring that its electrical configuration is aligned with your kitchen’s capacity. Get your new Westwind settled in smoothly with these helpful tips, so it can start working for you faster, and you can get back to focusing on your bustling kitchen.
Transcript
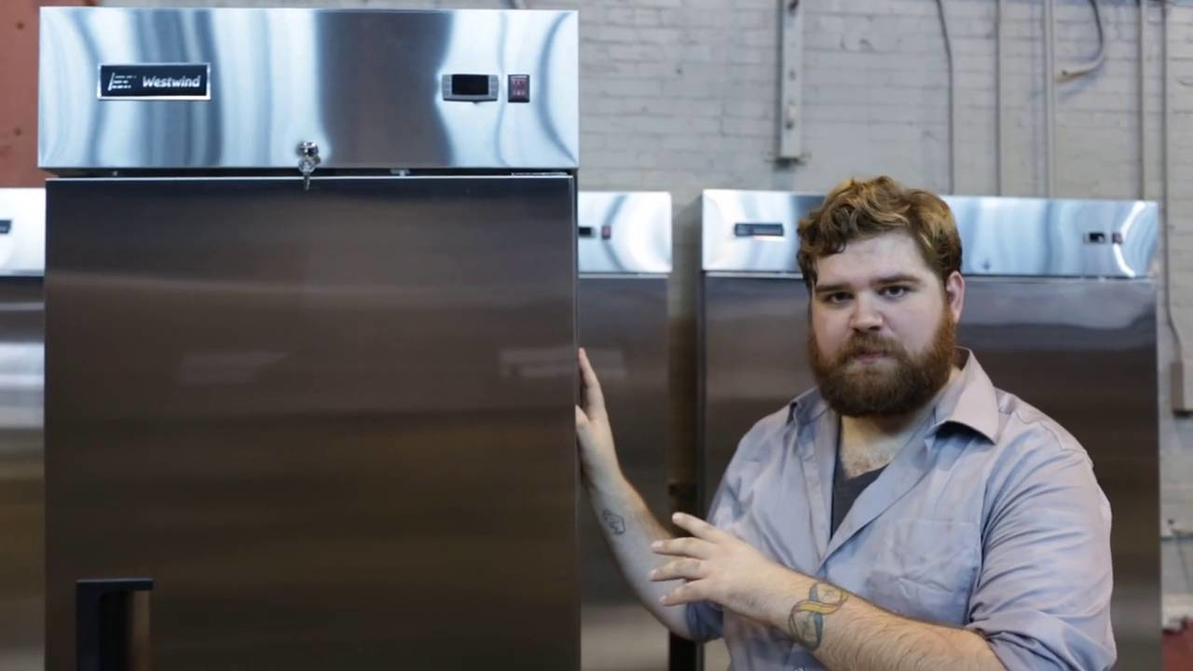
Hey folks. My name's Nick from Prima Supply. And today's video, we're going to be taking a quick look at WestWind's installation basic tips and tricks. One of the first things you want to ask yourself before you make a purchase on one of the WestWind units, is will it work in your restaurant? Things to consider before doing that, are the specs in regards to the width, the depth, and the height. We always recommend that when making these measurements, and measuring things out in your restaurant, you always add an additional four inches to either side, to make sure that you give enough breathing room to the unit. You don't want to have to overwork it in any tight spaces or tight corners.
Westwind Commercial Refrigeration
Westwind comes out of foodservice professionals, not engineers and corporate executives. With this background, they've designed their products to be easy to use, durable, reliable, and affordable.
Check it outThe other thing to consider is that you will be removing this from the truck and getting it from the outside of the restaurant to the inside. So, you'll want to measure the distance that the unit has to travel, as well as what door frames it has to travel, if there's any door stoppers in the middle there. If you have any sinks, other units, cabinets, anything that you'll have to get this unit around to get it into its final resting place. The other thing to take into consideration is the electrical configuration. All of our units come pre-wired with a NEMA 515P plug, and they are wired for 115 volts. So, we recommend a dedicated outlet for this unit specifically. If you have other units plugged into it, you may overwork those units or overwork this guy. Lastly, when getting it off the truck, we always recommend you take a quick look at the weight of the unit, since you will be responsible for getting it down from the truck. If you don't have a loading dock or a forklift, we recommend a liftgate. The smallest unit we have here is about 275...280 pounds. The bigger units are going to weigh a lot more, and if you don't have the proper tools to get it off the truck, you're going to have some difficulty on the delivery day.
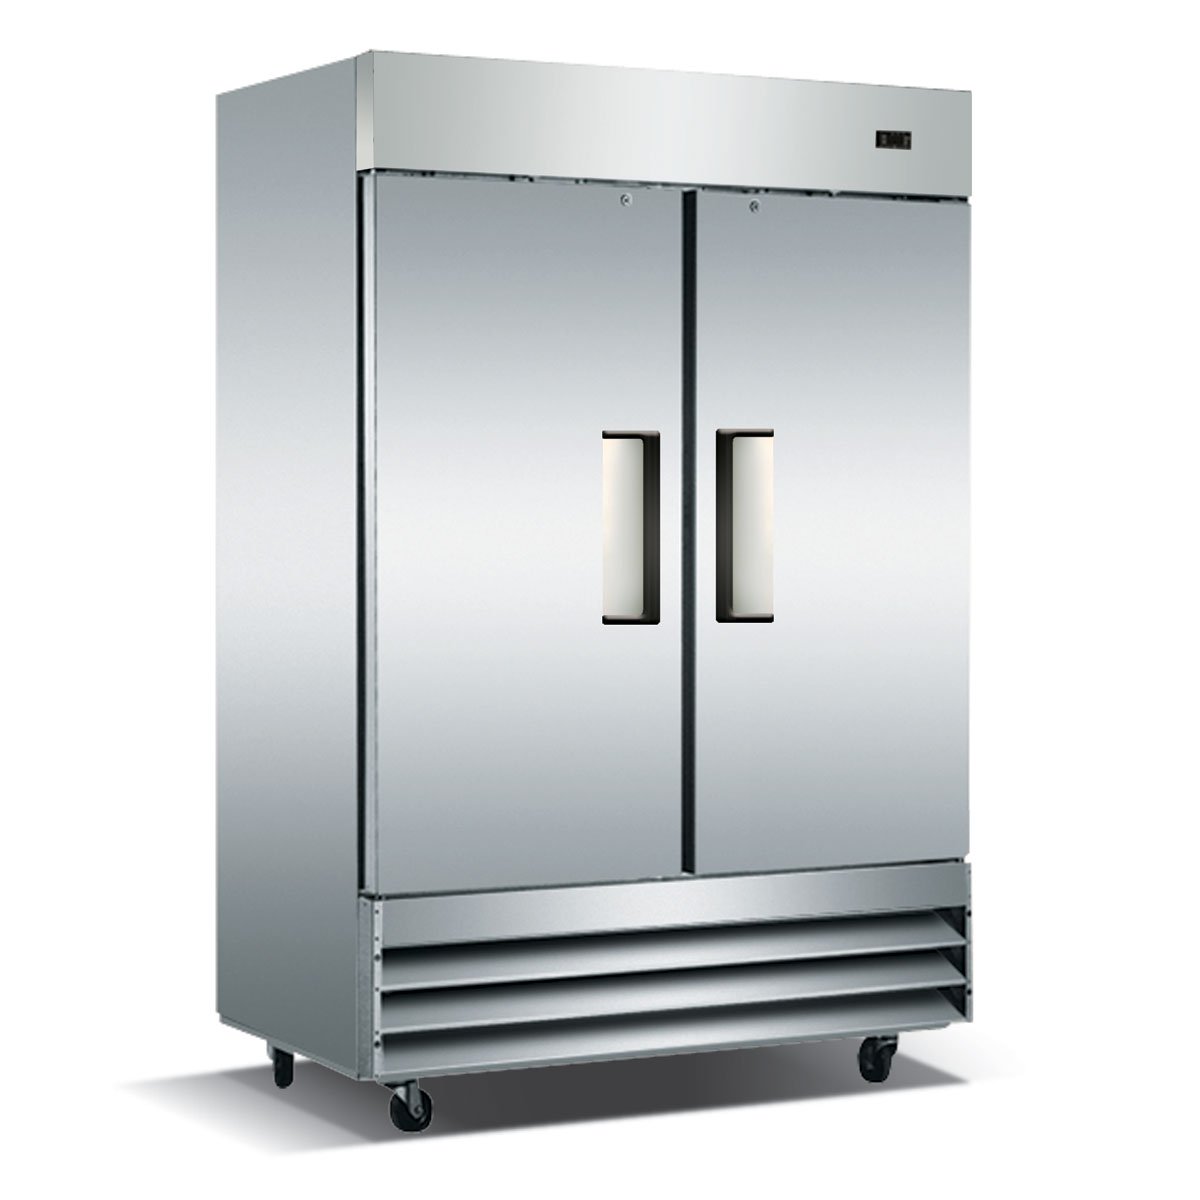
Once you finally do get it into the building and get everything installed and ready to go, you'll want to turn on the unit. You can find the button on the top right-hand corner there, and then set your temperature to where you want to do. Hold the set button down, and that'll bring up the temperature set controls. And you can either go up or go down on where you want that temperature to be. Once you find the correct temperature for your cabinet, hold that button down again to set, and after about 10 seconds you can let it go, and the cabinet will be set. We do recommend about 24 hours after installation, before you start loading the cabinet up with any product, just to give time for the refrigerant to circulate throughout the cabinet. But once you do get it installed, basic maintenance would just be wiping the cabinet down with a soft polisher or stainless steel cleaner. Nothing too harsh, because you don't want to peel or rust or damage the exterior in any way. As well as basic maintenance for the condensing unit. Down here you have four screws, two on either side of this grill. Once this grill comes off, you can have easy access to the condensing foil, which can be cleaned off about once a month, is what we recommend to help keep your unit running in tip top shape. And that's really all you need to know about the installation and maintenance of your Westwind unit. Thanks for watching.


