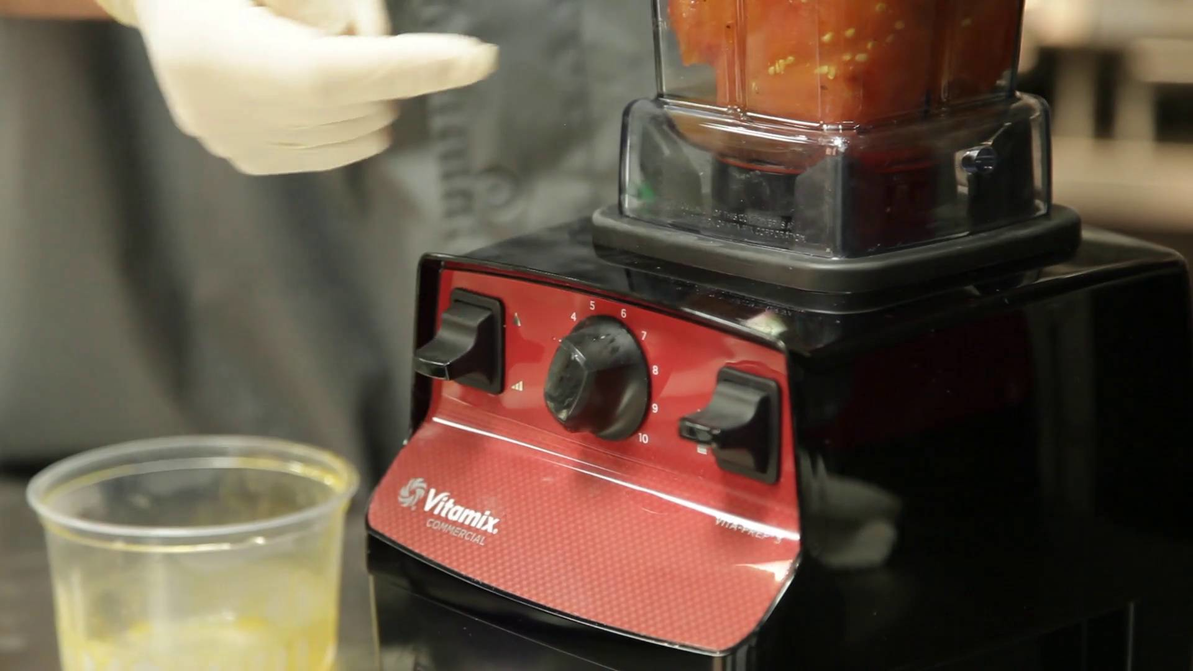
Video Overview | Vitamix Vita Prep 3 Commercial Blender
Vitamix’s Vita-Prep 3 commercial blender is designed to keep pace with your commercial kitchen, with an ample capacity for long run times and continuous use. With a powerful motor that purées, chops, and liquefies food without overheating, the Vita-Prep 3 is made to make a chef’s job easier. Ready to see it in action? Watch along as Chef David Ash highlights the features that make this blender unique, and demonstrates its capabilities while making a delicious tomato soup.
Transcript
Hi, this is Chef David Ash, and I'm here today to show you the Vitamix Vita-Prep 3. So new for this year, when you first unbox the unit is you're going to notice that it comes with a red face plate. Also, you'll notice underneath Vitamix, it's labeled "Commercial," for this is a commercial-grade unit, not residential, very important. You can also notice that there's two different models in the Vita-Prep series. We have the Vita-Prep, which you all are familiar with, that runs our 2.3-horsepower motor, or a little bit beefier Vita-Prep 3, which simply means that it runs on a 3-horsepower motor. There is a difference, not only just in horsepower, but if you're going to run it for extended period of times with hot liquids, a lot of dense products, and you're just going to need more oomph, the Vita-Prep 3 is worth the upgrade.
Vitamix Vita-Prep 3 Commercial Blender - 64oz - 3.0hp
Built with a 3 hp motor, the Vita-Prep 3 is designed for long run-times and continuous use.
Check it outSo simply unboxing, it comes with your base, it comes with a 64-ounce BPA-free Tritan container, comes with a tamper, just like every other Vitamix product out there, a replacement drive socket, and a use-and-care manual. Now, new to the 2017 line is going to be your LED on-and-off switch. Only when the unit's plugged in and the LED switch is turned to the "on" position will you be able to visibly see the unit is ready for use. The controls are improved and still simple to use. We have a variable speed and we also have what's called a ramp switch. So if you're in the middle of blending and you need to go to the highest speed possible, you can see, simply by flipping this switch up, it will increase it to the highest rpm possible.
Now, everybody's favorite, time to make a soup. So all we're going to do now, just like every recipe you've seen before, is we always start with our pitcher in place. We always want to build with our pitcher in place securely onto the base. So we're going to start with some tomatoes that we've roasted in the oven, some onions, and simply the liquid that we had finish on the sheet tray when we were done, and we're going to get these blending. And after about three to four minutes, at high speed…because remember, the higher the speed the faster the cooling fans working, so we want to keep this unit running at optimal level. So we're going to blend this on high for about four minutes and we're going to get this smoking hot before we finish off our soup and make our fresh tomato soup.
So to begin, we're going to put in our roasted tomatoes, roasted onions, and the beautiful liquid we got from the bottom of the pan. And now what you're going to do is we're going to start it on low and we're going to quickly turn it all the way up, and we're going to let this go for about three-and-a-half minutes and all the friction from the blade inside the blender is going to produce enough heat that we'll be able to serve a nice hot soup in just a few minutes. Alright, so we've been running for about four minutes now, and now you can see from a refrigerated state, see all the steam coming off. Now, to finish we're just going to put some fresh basil at the very, very end, right before service, little bit of salt and pepper, couple more quick zaps. Don't want to go too much because you don't want to beat up that beautiful fresh basil we just put in there, so now we have a nice, hot, fresh tomato soup. Thanks so much for watching.


